| Name | Description |
|---|---|
| Name | PoE The Elder Grim Fate 3.30 Guide: The Malignance |
| description | Learn how The Malignance empowers The Elder in Path of Exile 3.30, what the Rot Fate adds to the fight, and how to handle its bleeding, poison, and lightning blasts. |
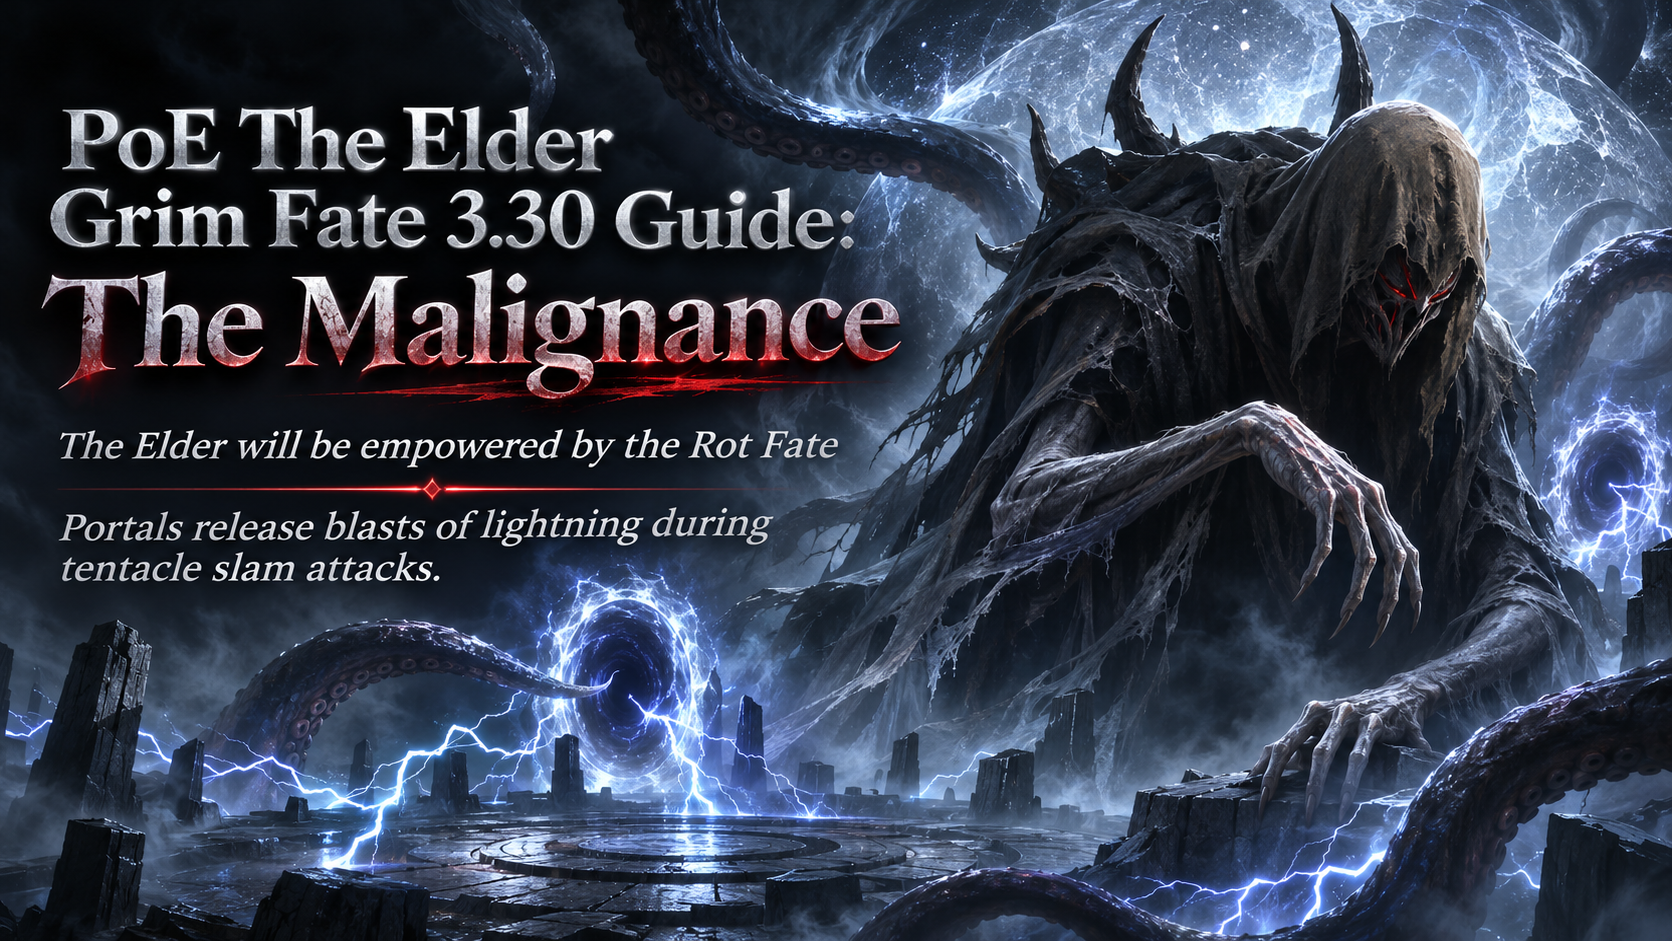
| Long Description | The Malignance is a Grim Fate for The Elder. It empowers the encounter with the Rot Fate: The Elder’s attacks have a 50% chance to inflict Bleeding and a 50% chance to inflict Poison, and portals release blasts of lightning during tentacle slam attacks. These additions make it important to manage both ailments and watch the arena, not just the boss. |
Preparing for the fight
Bring reliable defenses against physical damage and ailments. Bleeding can become dangerous while you move, so use a source of Bleeding removal or immunity, or invest in Bleed avoidance. Poison deals chaos damage over time; chaos resistance, life recovery, and Poison mitigation help you survive it. Keep an instant life flask available if your build uses one, and avoid relying on recovery that cannot keep up while you are moving or being hit.
How to handle The Malignance
Watch The Elder’s animation before tentacle slams and be ready to move. With The Malignance active, portals also fire lightning blasts during these attacks, so track both the slam and the portal effects. Avoid standing still to finish a long damage sequence when either attack is starting. Use a movement skill to leave the danger area, then return when the attack resolves.
The Elder’s expanding ring attack has a safe area inside the inner ring. Move toward the center and stay inside it until the outer blast passes; running outward through the expanding ring can put you in its path. Step out of The Elder’s Siphon cone, and kill Madness Propagators promptly so they do not cover the arena with damaging ground effects.
During the Shaper’s capture phase
When The Elder is captured, focus on the Null Portals and the Madness Propagators they release. Kill the monsters before they can damage the Shaper, and intercept projectiles when practical. If the Shaper is defeated, the encounter continues, but you lose the successful capture outcome associated with protecting him.
Finishing the encounter
After The Elder’s final phase, Zana creates a protective bubble for the concluding blast. Enter it as soon as it appears and stay inside until the blast is over. Keep a movement skill ready for this moment, and avoid leaving the bubble to chase damage.
Using Fates
In campaign areas and maps, the Coven Queen’s darkness immobilizes unique bosses until you invoke Fates to release them. You can invoke up to two Fates during the campaign; a third slot becomes available automatically in maps. Fates change the boss encounter and add rewards. Some rewards apply individually, while combo rewards require two or three Fates with the same reward marker. Additional matching Fates may contribute toward another reward.
Defeating a Fate-empowered boss can drop Viscera associated with that boss. Place Viscera on the Wickerman to gain its stats.
Fates have tiers shown by one, two, or three feather symbols. Higher-tier Fates provide a greater item rarity bonus and add more dangerous effects. Campaign Fates are Tier 1; Fates found in maps are Tier 2.
Under the 3.30.0b Hotfix 3 rules, you may invoke three copies of the same Fate. The first and third copies have their rewards tripled; the second copy is ignored.
In the endgame, defeating an empowered boss in a Tier 16 map can sometimes grant a random Grim Fate. Grim Fates are retained at the Wickerman and can be used to empower specific Atlas pinnacle bosses. These encounters can drop Pinnacle Boss Viscera, which grant exclusive stats based on unique items, as well as the Cursed Poppet used to fight the Coven Queen. Activate a Grim Fate for a pinnacle encounter from the Atlas of Worlds, similar to using Maven’s beacon to witness a boss.
List of rewards
| Reward type | Combo | Description |
|---|---|---|
| Currency | 1 | Empowered Boss will drop additional Currency Items |
| Currency | 2 | Empowered Boss will drop additional Currency Items (Area Level 81+) |
| Currency | 3 | Empowered Boss will drop additional Valuable Currency Items |
| Maps | 1 | Empowered Boss will drop an additional Rare Map |
| Maps | 2 | Empowered Boss will drop many additional Rare Maps |
| Threads | 1 | Empowered Boss will drop additional Threads |
| Threads | 2 | Empowered Boss will drop many additional Threads |
| Threads | 2 | Empowered Boss will drop many additional Threads |
| Stacked Decks | 1 | Empowered Boss will drop additional Stacked Decks |
| Stacked Decks | 2 | Empowered Boss will drop many additional Stacked Decks |
| Gems | 1 | Empowered Monster will drop additional Gems with Quality |
| Gems | 1 | Empowered Monster will drop additional Gems, some of which will be maximum Quality |
| Gems | 2 | Empowered Monster will drop additional Gems, some of which will be maximum Quality |
| Gems | 2 | Empowered Monster will drop additional Gems with maximum Quality (Area Level 81+) |
| Exceptional Gem | 3 | Empowered Monster will drop an additional Exceptional Gem |
| Unique Weapon | 1 | Empowered Boss will drop an additional Unique Weapon |
| Unique Weapon | 1 | Empowered Boss will drop an additional Valuable Unique Weapon (T3+) |
| Unique Armour | 1 | Empowered Boss will drop an additional Unique Armour |
| Unique Armour | 1 | Empowered Boss will drop an additional Valuable Unique Armour (T3+) |
| Unique Jewellery | 1 | Empowered Boss will drop an additional Unique Jewellery |
| Unique Jewellery | 1 | Empowered Boss will drop an additional Valuable Unique Jewellery Item (T3+) |
| Unique Jewel | 2 | Empowered Boss will drop an additional Unique Jewel |
| Unique Flask | 1 | Empowered Boss will drop an additional Unique Flask |
| Corpse Rose | 2 | Empowered Monster will drop Corpse Rose |
| Hide of the Vendigo | 2 | Empowered Monster will drop Hide of the Vendigo |
| Ordered Fate | 2 | Empowered Monster will drop Ordered Fate |
| Doedre’s Tongue | 2 | Empowered Monster will drop Doedre’s Tongue |
| Dreadmaidens’ Sacrament | 2 | Empowered Monster will drop Dreadmaidens’ Sacrament |
| Viscera | 2 | Empowered Monster will drop a Viscera Item (+100%) |
| Gold | 1 | Empowered Boss will drop additional Gold |
| Gold | 2 | Empowered Boss will drop hoards of Gold |
| Rarity | 1 | Empowered Boss has greatly increased item Rarity (+50%) |
| Rarity | 2 | Empowered Boss has massively increased item Rarity (+80%) |
| Rarity | 3 | Empowered Boss has extremely increased item Rarity (+120%, Area Level 80+) |
| Fated Items (Block) | 1 | Empowered Monster will drop additional Rare <Item Class>; <Item class> dropped by Empowered Monster will have no <modifier tag> modifiers |
| Fated Items (Guarantee) | 1 | Empowered Monster will drop additional Rare <Item Class>; <Item class> dropped by Empowered Monster will have a <modifier tag> modifier |
About the Author