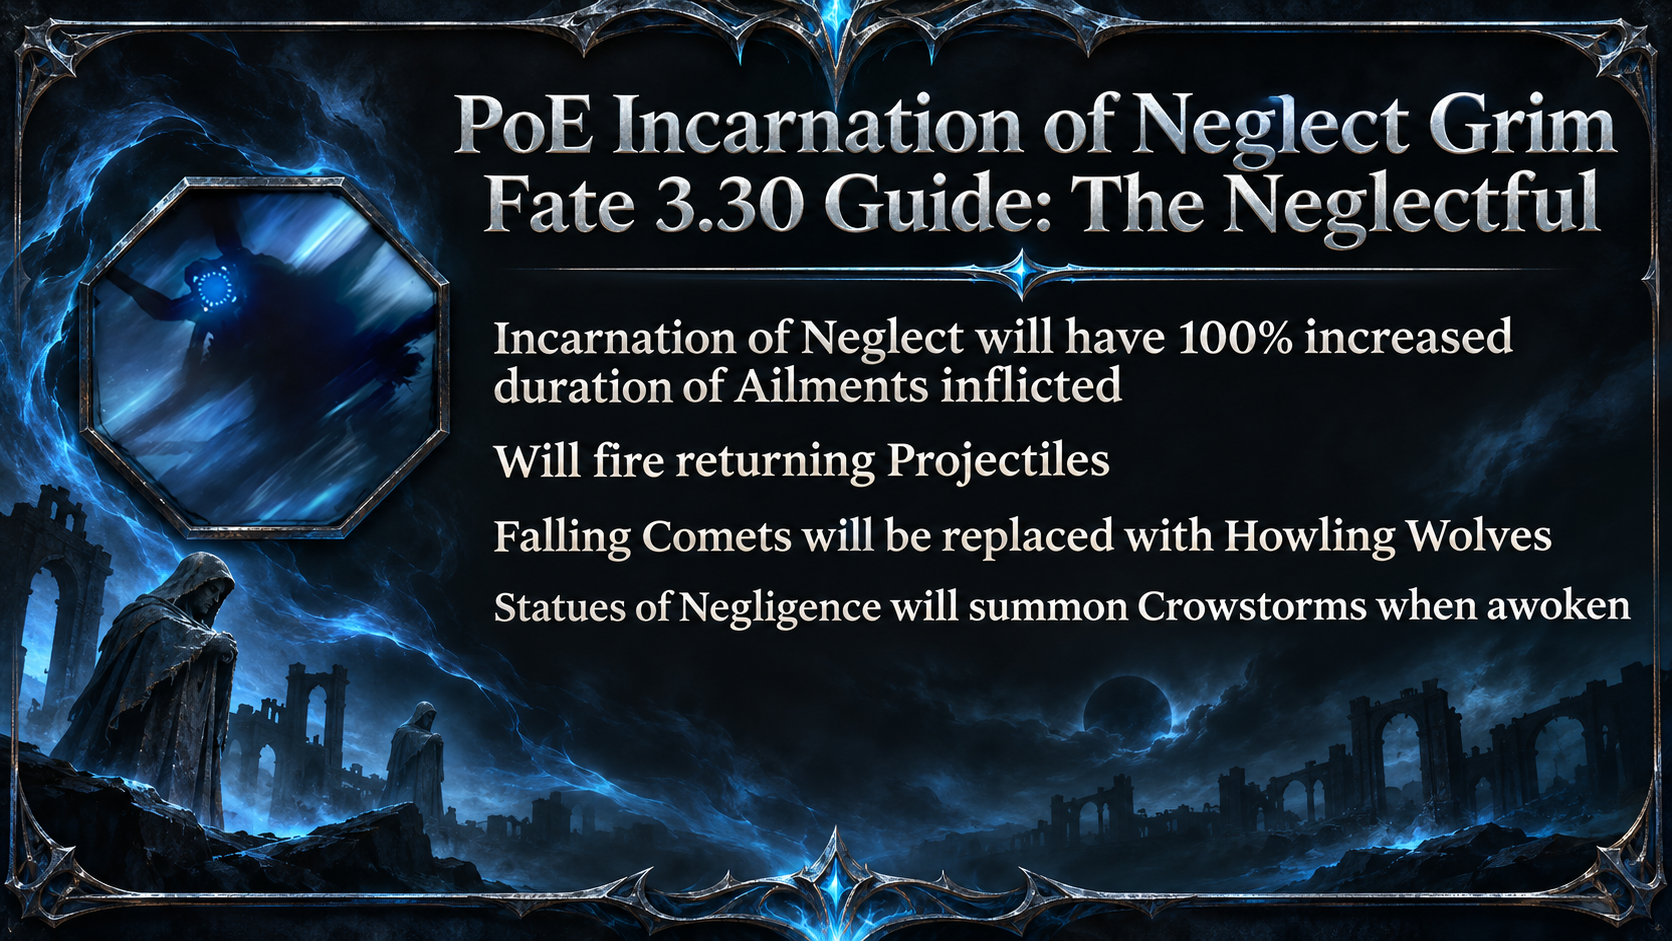
The Neglectful Grim Fate empowers the Incarnation of Neglect, making its arena hazards harder to manage. The fight already combines sweeping lasers, cold attacks and moving statues. With this Fate active, ailments last longer, projectiles return, falling comets become Howling Wolves, and awakened Statues of Negligence summon Crowstorms.
The Neglectful Grim Fate
| Name | Description |
|---|---|
| Name | The Neglectful |
| description | Incarnation of Neglect will have an increased duration of Ailments inflicted |
| Long Description | Incarnation of Neglect will have 100% increased duration of Ailments inflicted Will fire returning Projectiles Falling Comets will be replaced with Howling Wolves Statues of Negligence will summon Crowstorms when awoken |
How to Defeat the Incarnation of Neglect
The key to this encounter is managing the arena, not staying close to the boss. The Incarnation uses cold projectiles, sweeping cold beams, slams and falling comets. It also creates rune lasers that sweep across the arena; these can inflict Brittle or Sap. Statues can block the lasers, but when awakened under The Neglectful they also summon Crowstorms.
- Keep moving, but watch where you move. Avoid standing in marked comet areas or in the path of a beam sweep. When projectiles return, don’t move back through their path after dodging them the first time.
- Treat the statues as temporary cover. The statues can interrupt rune lasers, but awakening them summons Crowstorms. Move clear of the storm rather than waiting beside the statue.
- Prioritize ailment protection. The Fate doubles the duration of ailments the boss inflicts. Prepare for longer-lasting ailments and pay attention to Brittle, Sap, Shock and chill or freeze effects during the fight. Removing an ailment after it lands may not be enough if you are hit again.
- Use attack openings. The boss has several attacks that require you to reposition. Deal damage when a beam or slam has passed, then move again before the next sequence begins.
- Don’t rely on standing at range. Projectiles and arena-wide patterns can still reach you. Watch the boss’s animation and the ground markers, and keep an escape route open.
For the Fate-empowered version, the most dangerous moments are when a returning projectile, a Howling Wolves pattern and a laser sweep limit your safe space at the same time. Avoid committing to a long stationary attack; reposition first, then use a shorter damage window.
Using Fates
In campaign areas and maps, the Coven Queen’s darkness holds unique bosses in place until you invoke Fates to release them. You can invoke up to two Fates during the campaign; maps provide a third slot. Each Fate changes the encounter and adds rewards. Some rewards apply from a single Fate, while combo rewards require the indicated number of matching reward markers.
Defeating a Fate-empowered boss can drop Viscera associated with that boss. Place Viscera on the Wickerman to gain its stats.
Fates have tiers shown by one, two or three feather symbols. Higher-tier Fates bring greater item rarity bonuses and more dangerous effects. Campaign Fates are Tier 1; map Fates are Tier 2.
You can invoke three copies of the same Fate under the 3.30.0b Hotfix 3 rules. The first and third copies have their rewards tripled; the second copy is ignored. This replaced the earlier restriction against invoking the same Fate three times.
In the endgame, defeating a Fate-empowered boss in a Tier 16 map can sometimes grant a random Grim Fate. Grim Fates are stored at the Wickerman and can empower specific Atlas pinnacle bosses. The chosen Grim Fate makes that boss encounter more dangerous and can enable Pinnacle Boss Viscera rewards. Select the Grim Fate for the encounter in the Atlas or Map Device interface before opening the boss fight.
List of Rewards
| Reward type | Combo | Description |
|---|---|---|
| Currency | 1 | Empowered Boss will drop additional Currency Items |
| Currency | 2 | Empowered Boss will drop additional Currency Items (Area Level 81+) |
| Currency | 3 | Empowered Boss will drop additional Valuable Currency Items |
| Maps | 1 | Empowered Boss will drop an additional Rare Map |
| Maps | 2 | Empowered Boss will drop many additional Rare Maps |
| Threads | 1 | Empowered Boss will drop additional Threads |
| Threads | 2 | Empowered Boss will drop many additional Threads |
| Threads | 2 | Empowered Boss will drop many additional Threads |
| Stacked Decks | 1 | Empowered Boss will drop additional Stacked Decks |
| Stacked Decks | 2 | Empowered Boss will drop many additional Stacked Decks |
| Gems | 1 | Empowered Monster will drop additional Gems with Quality |
| Gems | 1 | Empowered Monster will drop additional Gems, some of which will be maximum Quality |
| Gems | 2 | Empowered Monster will drop additional Gems, some of which will be maximum Quality |
| Gems | 2 | Empowered Monster will drop additional Gems with maximum Quality (Area Level 81+) |
| Exceptional Gem | 3 | Empowered Monster will drop an additional Exceptional Gem |
| Unique Weapon | 1 | Empowered Boss will drop an additional Unique Weapon |
| Unique Weapon | 1 | Empowered Boss will drop an additional Valuable Unique Weapon (T3+) |
| Unique Armour | 1 | Empowered Boss will drop an additional Unique Armour |
| Unique Armour | 1 | Empowered Boss will drop an additional Valuable Unique Armour (T3+) |
| Unique Jewellery | 1 | Empowered Boss will drop an additional Unique Jewellery |
| Unique Jewellery | 1 | Empowered Boss will drop an additional Valuable Unique Jewellery Item (T3+) |
| Unique Jewel | 2 | Empowered Boss will drop an additional Unique Jewel |
| Unique Flask | 1 | Empowered Boss will drop an additional Unique Flask |
| Corpse Rose | 2 | Empowered Monster will drop Corpse Rose |
| Hide of the Vendigo | 2 | Empowered Monster will drop Hide of the Vendigo |
| Ordered Fate | 2 | Empowered Monster will drop Ordered Fate |
| Doedre’s Tongue | 2 | Empowered Monster will drop Doedre’s Tongue |
| Dreadmaidens’ Sacrament | 2 | Empowered Monster will drop Dreadmaidens’ Sacrament |
| Viscera | 2 | Empowered Monster will drop a Viscera Item (+100%) |
| Gold | 1 | Empowered Boss will drop additional Gold |
| Gold | 2 | Empowered Boss will drop hoards of Gold |
| Rarity | 1 | Empowered Boss has greatly increased item Rarity (+50%) |
| Rarity | 2 | Empowered Boss has massively increased item Rarity (+80%) |
| Rarity | 3 | Empowered Boss has extremely increased item Rarity (+120%, Area Level 80+) |
| Fated Items (Block) | 1 | Empowered Monster will drop additional Rare <Item Class> <Item class> dropped by Empowered Monster will have no <modifier tag> modifiers |
| Fated Items (Guarantee) | 1 | Empowered Monster will drop additional Rare <Item Class> <Item class> dropped by Empowered Monster will have a <modifier tag> modifier |
The 3.30.0c update also added new high-tier Fate reward outcomes, including chances for extra Divine Orbs, a Mirror Shard, a Fracturing Orb or a Hinekora’s Lock.
About the Author