| Name | Description |
|---|---|
| Name | The Iridescent |
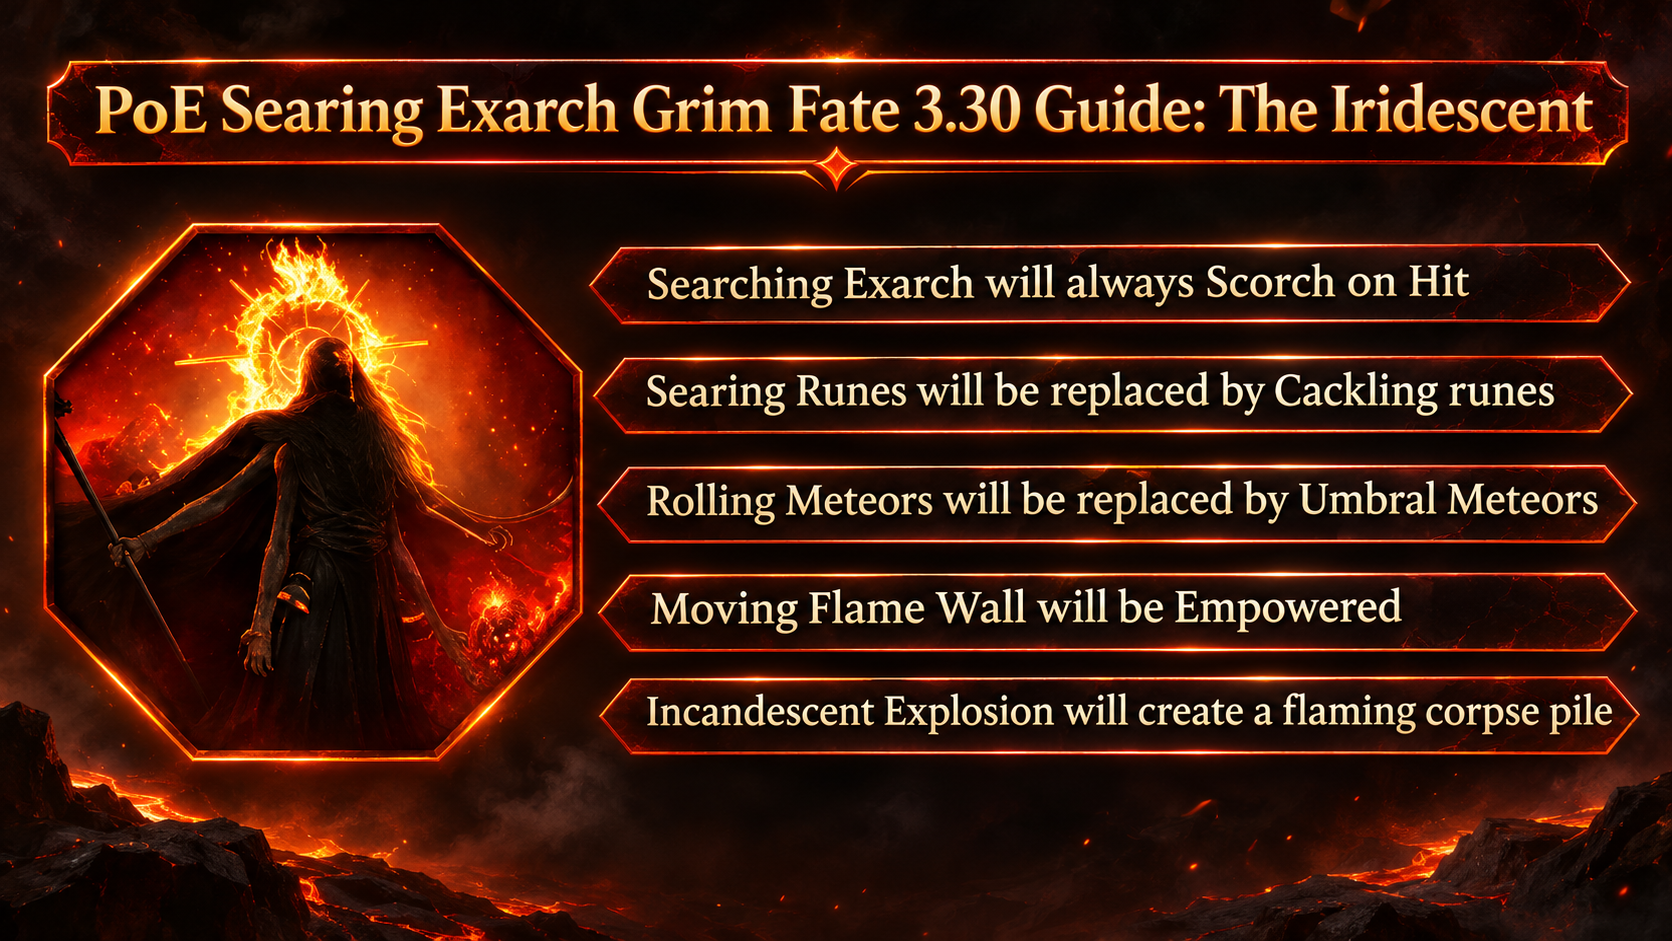
| description | The Iridescent adds Scorch and several fire hazards to the Searing Exarch encounter. |
| Long Description | The Searing Exarch always Scorches on Hit. Searing Runes become Cackling Runes, Rolling Meteors become Umbral Meteors, the Moving Flame Wall is empowered, and Incandescent Explosion leaves a flaming corpse pile. |
How to Defend Against and Defeat the Searing Exarch
The Iridescent makes the fight more dangerous by causing the Exarch’s hits to Scorch you, reducing your Elemental Resistances. Cap your Fire Resistance before the fight, and consider adding maximum Fire Resistance or ailment protection if your build can accommodate it.
Keep moving when the Exarch uses his large attacks and empowered Moving Flame Wall. When Umbral Meteors cross the arena, watch their paths and move through a safe gap; a teleport movement skill can help you cross a lane. Avoid standing on rune hazards, and move away from the flaming corpse pile left by Incandescent Explosion. The meteor phase is a survival check while the Exarch is invulnerable, so focus on dodging until you can attack again.
Using Fates
In campaign areas and maps, the Coven Queen’s darkness immobilizes unique bosses until you invoke Fates to release them. You can invoke up to two Fates during the campaign; a third slot becomes available in maps. Each Fate changes the boss encounter and adds rewards. Some rewards apply individually, while combo rewards require two or three Fates with the same reward marker. Extra matching Fates may contribute toward another reward.
Defeating a Fate-empowered boss can drop Viscera associated with that boss. Place Viscera on the Wickerman to gain its stats.
Fates have tiers shown by one, two, or three feather symbols. Higher-tier Fates grant a greater item rarity bonus and add more dangerous effects. Campaign Fates are Tier 1; map Fates are Tier 2.
Under the 3.30.0b Hotfix 3 rules, you can invoke three copies of the same Fate. The first and third copies have their rewards tripled; the second copy is ignored.
In the endgame, a Grim Fate can sometimes drop when you defeat an empowered boss in a Tier 16 map. Grim Fates are kept at the Wickerman and can be activated from the Atlas to empower specific Atlas pinnacle bosses. These encounters can drop Pinnacle Boss Viscera, which grant exclusive stats based on the bosses’ unique items, as well as a Cursed Poppet used to fight the Coven Queen.
List of Rewards
| Reward type | Combo | Description |
|---|---|---|
| Currency | 1 | Empowered Boss will drop additional Currency Items |
| Currency | 2 | Empowered Boss will drop additional Currency Items (Area Level 81+) |
| Currency | 3 | Empowered Boss will drop additional Valuable Currency Items |
| Maps | 1 | Empowered Boss will drop an additional Rare Map |
| Maps | 2 | Empowered Boss will drop many additional Rare Maps |
| Threads | 1 | Empowered Boss will drop additional Threads |
| Threads | 2 | Empowered Boss will drop many additional Threads |
| Threads | 2 | Empowered Boss will drop many additional Threads |
| Stacked Decks | 1 | Empowered Boss will drop additional Stacked Decks |
| Stacked Decks | 2 | Empowered Boss will drop many additional Stacked Decks |
| Gems | 1 | Empowered Monster will drop additional Gems with Quality |
| Gems | 1 | Empowered Monster will drop additional Gems, some of which will be maximum Quality |
| Gems | 2 | Empowered Monster will drop additional Gems, some of which will be maximum Quality |
| Gems | 2 | Empowered Monster will drop additional Gems with maximum Quality (Area Level 81+) |
| Exceptional Gem | 3 | Empowered Monster will drop an additional Exceptional Gem |
| Unique Weapon | 1 | Empowered Boss will drop an additional Unique Weapon |
| Unique Weapon | 1 | Empowered Boss will drop an additional Valuable Unique Weapon (T3+) |
| Unique Armour | 1 | Empowered Boss will drop an additional Unique Armour |
| Unique Armour | 1 | Empowered Boss will drop an additional Valuable Unique Armour (T3+) |
| Unique Jewellery | 1 | Empowered Boss will drop an additional Unique Jewellery |
| Unique Jewellery | 1 | Empowered Boss will drop an additional Valuable Unique Jewellery Item (T3+) |
| Unique Jewel | 2 | Empowered Boss will drop an additional Unique Jewel |
| Unique Flask | 1 | Empowered Boss will drop an additional Unique Flask |
| Corpse Rose | 2 | Empowered Monster will drop Corpse Rose |
| Hide of the Vendigo | 2 | Empowered Monster will drop Hide of the Vendigo |
| Ordered Fate | 2 | Empowered Monster will drop Ordered Fate |
| Doedre’s Tongue | 2 | Empowered Monster will drop Doedre’s Tongue |
| Dreadmaidens’ Sacrament | 2 | Empowered Monster will drop Dreadmaidens’ Sacrament |
| Viscera | 2 | Empowered Monster will drop a Viscera Item (+100%) |
| Gold | 1 | Empowered Boss will drop additional Gold |
| Gold | 2 | Empowered Boss will drop hoards of Gold |
| Rarity | 1 | Empowered Boss has greatly increased item Rarity (+50%) |
| Rarity | 2 | Empowered Boss has massively increased item Rarity (+80%) |
| Rarity | 3 | Empowered Boss has extremely increased item Rarity (+120%, Area Level 80+) |
| Fated Items (Block) | 1 | Empowered Monster will drop additional Rare <Item Class> `<Item class>` dropped by Empowered Monster will have no <modifier tag> modifiers |
| Fated Items (Guarantee) | 1 | Empowered Monster will drop additional Rare <Item Class> `<Item class>` dropped by Empowered Monster will have a <modifier tag> modifier |
About the Author