| Name | Description |
|---|---|
| Name | PoE Incarnation of Dread Grim Fate 3.30 Guide: The Dreadful |
| description | Learn how The Dreadful changes the Incarnation of Dread fight, which attacks to watch for, and how to survive its empowered phases. |
| Long Description | The Dreadful is a Grim Fate that makes the Incarnation of Dread more dangerous by greatly increasing its chance to critically strike, raising its critical strike multiplier, adding Umbral Roses, and empowering Volatile Orbs and Engulfing Nova. The encounter already demands careful movement through powerful physical, elemental, and chaos attacks. With this Fate active, critical-hit mitigation and quick responses to arena mechanics matter even more. |
What The Dreadful Changes
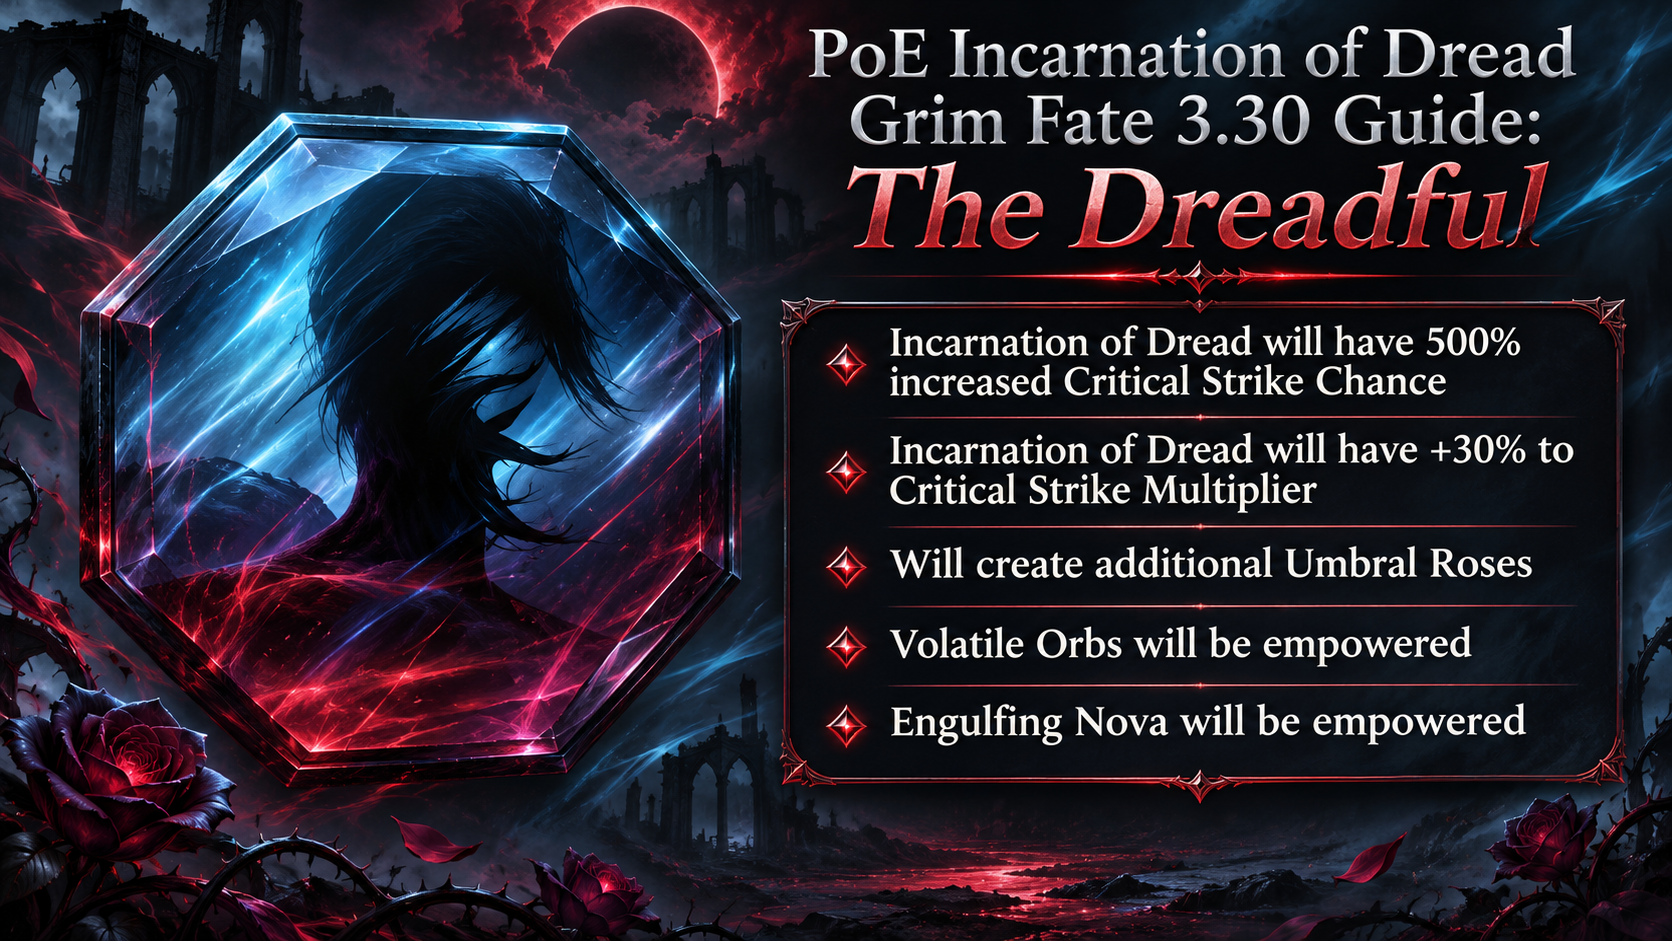
The Dreadful adds these effects to the Incarnation of Dread:
- 500% increased Critical Strike Chance
- +30% to Critical Strike Multiplier
- Additional Umbral Roses
- Empowered Volatile Orbs
- Empowered Engulfing Nova
The Fate’s listed effects confirm the critical bonuses and empowered abilities; they do not specify the exact numerical changes to the empowered orbs or nova. Treat those attacks as more dangerous, and prioritize avoiding them rather than relying on a particular damage or area estimate.
How to Defend Against the Incarnation of Dread
Reduce the danger from critical strikes. The 500% increased Critical Strike Chance makes critical-hit protection especially valuable. Use gear, passives, or other effects that reduce extra damage taken from critical strikes where available. Avoid taking repeated hits while stationary, even if your build can usually absorb the boss’s normal attacks.
Keep your elemental resistances capped and bring reliable recovery. The fight includes cold, fire, and lightning damage, alongside physical and chaos damage. Shock and Sap can make incoming damage harder to manage, while Chill, Freeze, Scorch, and other ailments can restrict movement or increase danger. Ailment mitigation, life recovery, and a way to escape dangerous ground effects all help.
Keep moving, but leave yourself room to move. Volatile Orbs pursue the player and create damaging ground effects when they connect. Guide them toward the edge of the arena so they do not cut off your routes through the center. Avoid dragging them across the space you need for the Rose phases.
Stay ready to move in close during Engulfing Nova. The arena’s safe area contracts toward the boss before the outer area explodes. Move into the safe space as it closes; do not count on blocking, dodging, or suppressing the explosion. The empowered version makes this mechanic a priority.
Use mobility for the Rose phases. At health thresholds, the boss becomes immune and roses must be carried back to it. Pick up and deliver the roses one at a time. Carrying both together causes them to explode on you, applying several ailments. The extra Umbral Roses from The Dreadful add more hazards to these phases, so watch their trails and avoid crossing active projectile or beam patterns.
How to Defeat the Incarnation of Dread
The safest approach is to deal damage in short windows, then return your attention to the arena. Watch the boss’s animations: move out of marked slam areas, avoid its lightning attacks, and reposition when Volatile Orbs begin pursuing you. Do not stand still to finish a damage rotation if an attack is about to land.
When Engulfing Nova begins, move toward the shrinking safe area beside the boss. During Rose phases, stop attacking and complete the rose objective carefully. Deliver each rose before picking up the next, and use movement skills to cross dangerous sections quickly.
Once the boss is vulnerable again, resume damage while preserving an escape route. The fight rewards steady positioning and mechanic awareness more than trying to tank attacks. If you are dying to sudden hits, improve critical-hit mitigation and recovery before increasing damage.
Using Fates
In campaign areas and maps, the Coven Queen’s darkness immobilizes unique bosses until you invoke Fates to release them. You can invoke up to two Fates during the campaign; a third slot becomes available automatically in maps. Each Fate changes the boss encounter and adds rewards. Some rewards are granted individually, while combo rewards require matching reward markers across two or three Fates. Additional matching Fates may contribute to another reward.
Defeating a Fate-empowered boss can drop Viscera associated with that boss. Place Viscera on the Wickerman to gain its stats.
Fates have tiers shown by one, two, or three feather symbols. Higher-tier Fates provide a greater item rarity bonus and add more dangerous effects. Fates found during the campaign are Tier 1; those found in maps are Tier 2.
Invoking duplicate Fates can upgrade the Fate’s tier and multiply its rewards. Under the 3.30.0b Hotfix 3 rules, you can invoke three copies of the same Fate: the first and third copies have their rewards tripled, while the second copy is ignored. This replaced the earlier restriction that prevented using the same Fate three times.
Grim Fates can sometimes be claimed after defeating an empowered map boss in a Tier 16 map. Unlike regular Fates, Grim Fates are retained at the Wickerman and can empower specific Atlas pinnacle bosses. These encounters can drop Pinnacle Boss Viscera with exclusive stats based on the boss’s unique items, as well as the Cursed Poppet used to challenge the Coven Queen. Grim Fates are activated from the Atlas of Worlds, similarly to Maven’s beacon for witnessing a boss.
List of Rewards
| Reward type | Combo | Description |
|---|---|---|
| Currency | 1 | Empowered Boss will drop additional Currency Items |
| Currency | 2 | Empowered Boss will drop additional Currency Items (Area Level 81+) |
| Currency | 3 | Empowered Boss will drop additional Valuable Currency Items |
| Maps | 1 | Empowered Boss will drop an additional Rare Map |
| Maps | 2 | Empowered Boss will drop many additional Rare Maps |
| Threads | 1 | Empowered Boss will drop additional Threads |
| Threads | 2 | Empowered Boss will drop many additional Threads |
| Stacked Decks | 1 | Empowered Boss will drop additional Stacked Decks |
| Stacked Decks | 2 | Empowered Boss will drop many additional Stacked Decks |
| Gems | 1 | Empowered Monster will drop additional Gems with Quality |
| Gems | 1 | Empowered Monster will drop additional Gems, some of which will be maximum Quality |
| Gems | 2 | Empowered Monster will drop additional Gems, some of which will be maximum Quality |
| Gems | 2 | Empowered Monster will drop additional Gems with maximum Quality (Area Level 81+) |
| Exceptional Gem | 3 | Empowered Monster will drop an additional Exceptional Gem |
| Unique Weapon | 1 | Empowered Boss will drop an additional Unique Weapon |
| Unique Weapon | 1 | Empowered Boss will drop an additional Valuable Unique Weapon (T3+) |
| Unique Armour | 1 | Empowered Boss will drop an additional Unique Armour |
| Unique Armour | 1 | Empowered Boss will drop an additional Valuable Unique Armour (T3+) |
| Unique Jewellery | 1 | Empowered Boss will drop an additional Unique Jewellery |
| Unique Jewellery | 1 | Empowered Boss will drop an additional Valuable Unique Jewellery Item (T3+) |
| Unique Jewel | 2 | Empowered Boss will drop an additional Unique Jewel |
| Unique Flask | 1 | Empowered Boss will drop an additional Unique Flask |
| Corpse Rose | 2 | Empowered Monster will drop Corpse Rose |
| Hide of the Vendigo | 2 | Empowered Monster will drop Hide of the Vendigo |
| Ordered Fate | 2 | Empowered Monster will drop Ordered Fate |
| Doedre’s Tongue | 2 | Empowered Monster will drop Doedre’s Tongue |
| Dreadmaidens’ Sacrament | 2 | Empowered Monster will drop Dreadmaidens’ Sacrament |
| Viscera | 2 | Empowered Monster will drop a Viscera Item (+100%) |
| Gold | 1 | Empowered Boss will drop additional Gold |
| Gold | 2 | Empowered Boss will drop hoards of Gold |
| Rarity | 1 | Empowered Boss has greatly increased item Rarity (+50%) |
| Rarity | 2 | Empowered Boss has massively increased item Rarity (+80%) |
| Rarity | 3 | Empowered Boss has extremely increased item Rarity (+120%, Area Level 80+) |
| Fated Items (Block) | 1 | Empowered Monster will drop additional Rare <Item Class>; <Item class> dropped by Empowered Monster will have no <modifier tag> modifiers |
| Fated Items (Guarantee) | 1 | Empowered Monster will drop additional Rare <Item Class>; <Item class> dropped by Empowered Monster will have a <modifier tag> modifier |
About the Author