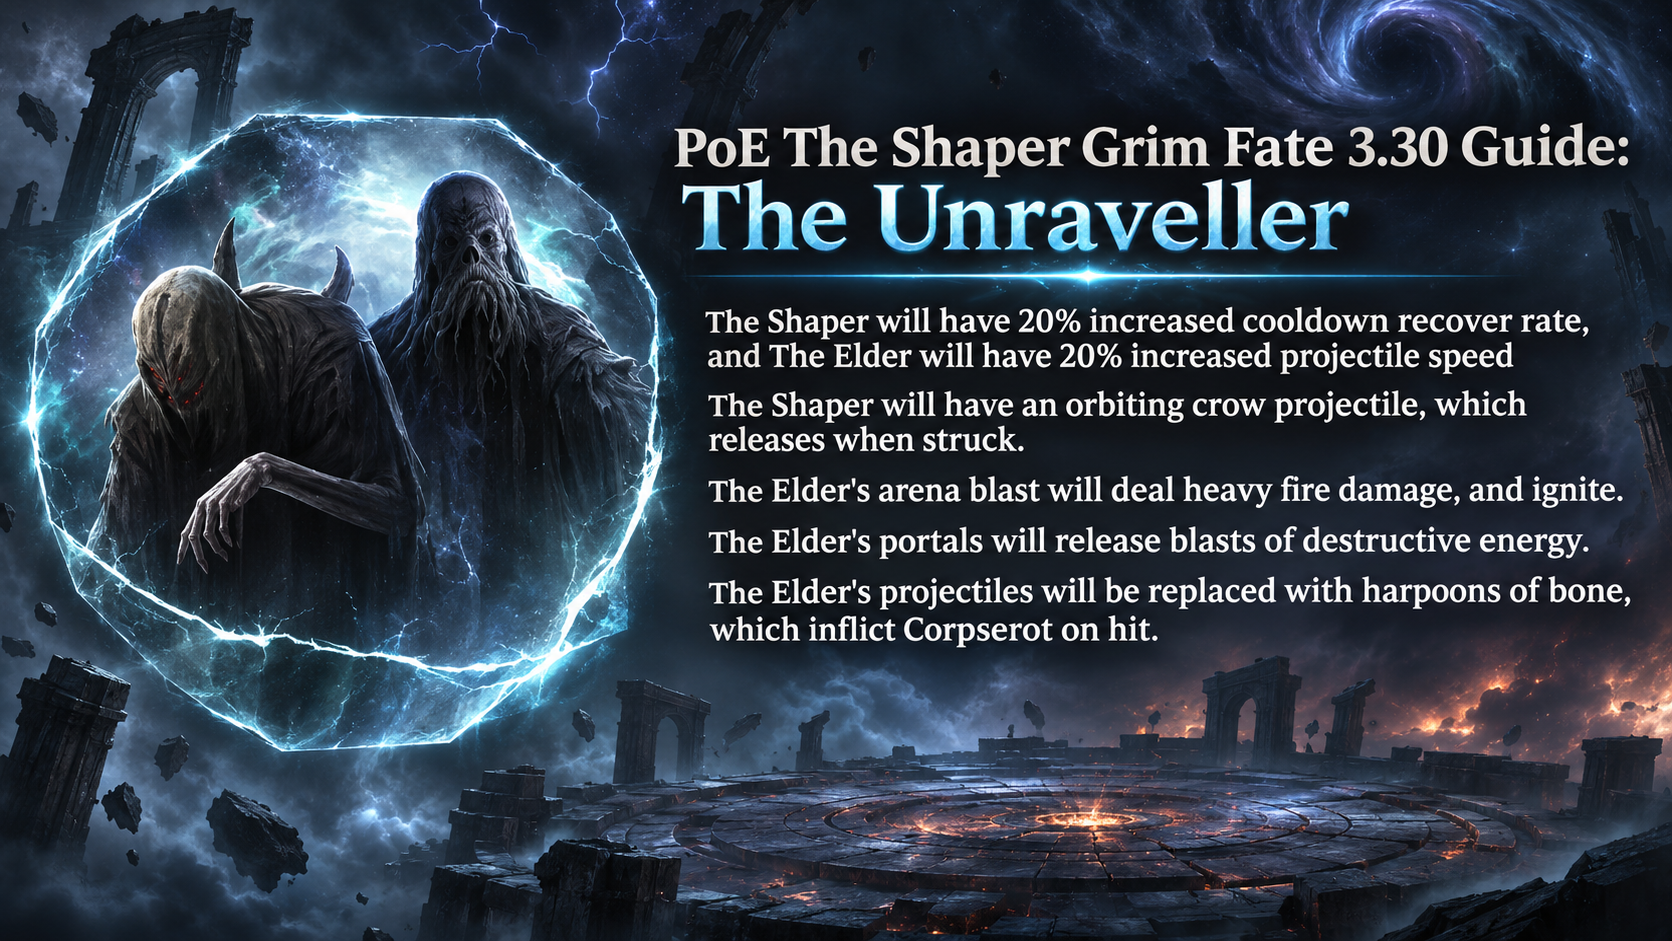
The Unraveller empowers The Shaper and The Elder in the Uber Elder encounter. It makes The Shaper’s attacks recover faster and adds a crow projectile that releases when struck. The Elder’s projectiles also move faster, and the fight gains dangerous fire, portal, and bone-harpoon effects.
Grim Fate
| Name | Description |
|---|---|
| Name | The Unraveller |
| description | Shaper will have increased Cooldown Recovery Rate, Elder will have increased Projectile Speed |
| Long Description | The Shaper will have 20% increased cooldown recover rate, and The Elder will have 20% increased projectile speed The Shaper will have an orbiting crow projectile, which releases when struck. The Elder’s arena blast will deal heavy fire damage, and ignite. The Elder’s portals will release blasts of destructive energy. The Elder’s projectiles will be replaced with harpoons of bone, which inflict Corpserot on hit. |
How to Defeat The Shaper and The Elder
The Unraveller is a two-boss encounter, so keep track of both bosses even when one is temporarily invulnerable. Their attacks overlap, and The Shaper’s faster cooldown recovery means his abilities can come around more often. Avoid standing still to finish a long damage sequence.
- Keep moving and watch The Shaper’s animations. Move out of the way when he begins a beam or a teleport slam. His cold projectiles hit hard, so dodge the volley instead of trying to tank it.
- Watch for the orbiting crow. It releases when struck, so avoid attacking from a position where its release could catch you at close range. Reposition when you see it circling.
- Treat The Elder’s arena blast as a major fire hazard. Move clear of its impact area, and prepare for the ignite that follows. Keep your fire resistance capped and bring a reliable way to handle ignite.
- Give the portals space. They release destructive blasts, so don’t stand beside them while focusing on a boss.
- Dodge the bone harpoons. The Elder fires them faster under this Fate, and a hit inflicts Corpserot. Keep moving laterally and avoid crossing their paths.
- Preserve safe ground. Volatile Anomalies can leave damaging vortexes, while Madness Propagators can create lasting ground effects. Lead anomalies toward the arena edge and kill propagators quickly to keep room to maneuver.
- Use damage windows efficiently. The bosses’ vulnerability alternates as the fight progresses. Save major cooldowns for the boss you can damage, and switch targets when the other becomes vulnerable.
Prepare for heavy cold damage from The Shaper alongside The Elder’s added fire damage and ailments. A movement skill, strong elemental defenses, and enough damage to shorten the fight all help. In the Uber Elder encounter, Zana does not provide the protective support available in some separate Shaper or Elder fights.
Using Fates
In campaign areas and maps, unique bosses are held by the Coven Queen’s darkness until you invoke Fates to release them. You can invoke up to two Fates during the campaign; maps unlock a third slot. Each Fate changes the encounter and adds rewards. Some rewards apply from a single Fate, while combo rewards require matching reward markers on two or three Fates.
Fates have tiers shown by feather symbols: one, two, or three feathers. Campaign Fates are Tier 1, while map Fates are Tier 2. Invoking duplicate Fates can raise the Fate’s tier and multiply its rewards. Under the 3.30.0b Hotfix 3 rules, you can invoke three copies of the same Fate: the first and third copies have their rewards tripled, while the second is ignored.
Grim Fates are for pinnacle encounters. They can sometimes be claimed after defeating an empowered Tier 16 map boss and are retained at the Wickerman until used. To apply one, choose the Grim Fate option at the Map Device when opening the relevant pinnacle encounter. The Unraveller applies to the Uber Elder encounter, empowering both The Shaper and The Elder.
List of Rewards
| Reward type | Combo | Description |
|---|---|---|
| Currency | 1 | Empowered Boss will drop additional Currency Items |
| Currency | 2 | Empowered Boss will drop additional Currency Items (Area Level 81+) |
| Currency | 3 | Empowered Boss will drop additional Valuable Currency Items |
| Maps | 1 | Empowered Boss will drop an additional Rare Map |
| Maps | 2 | Empowered Boss will drop many additional Rare Maps |
| Threads | 1 | Empowered Boss will drop additional Threads |
| Threads | 2 | Empowered Boss will drop many additional Threads |
| Threads | 2 | Empowered Boss will drop many additional Threads |
| Stacked Decks | 1 | Empowered Boss will drop additional Stacked Decks |
| Stacked Decks | 2 | Empowered Boss will drop many additional Stacked Decks |
| Gems | 1 | Empowered Monster will drop additional Gems with Quality |
| Gems | 1 | Empowered Monster will drop additional Gems, some of which will be maximum Quality |
| Gems | 2 | Empowered Monster will drop additional Gems, some of which will be maximum Quality |
| Gems | 2 | Empowered Monster will drop additional Gems with maximum Quality (Area Level 81+) |
| Exceptional Gem | 3 | Empowered Monster will drop an additional Exceptional Gem |
| Unique Weapon | 1 | Empowered Boss will drop an additional Unique Weapon |
| Unique Weapon | 1 | Empowered Boss will drop an additional Valuable Unique Weapon (T3+) |
| Unique Armour | 1 | Empowered Boss will drop an additional Unique Armour |
| Unique Armour | 1 | Empowered Boss will drop an additional Valuable Unique Armour (T3+) |
| Unique Jewellery | 1 | Empowered Boss will drop an additional Unique Jewellery |
| Unique Jewellery | 1 | Empowered Boss will drop an additional Valuable Unique Jewellery Item (T3+) |
| Unique Jewel | 2 | Empowered Boss will drop an additional Unique Jewel |
| Unique Flask | 1 | Empowered Boss will drop an additional Unique Flask |
| Corpse Rose | 2 | Empowered Monster will drop Corpse Rose |
| Hide of the Vendigo | 2 | Empowered Monster will drop Hide of the Vendigo |
| Ordered Fate | 2 | Empowered Monster will drop Ordered Fate |
| Doedre’s Tongue | 2 | Empowered Monster will drop Doedre’s Tongue |
| Dreadmaidens’ Sacrament | 2 | Empowered Monster will drop Dreadmaidens’ Sacrament |
| Viscera | 2 | Empowered Monster will drop a Viscera Item (+100%) |
| Gold | 1 | Empowered Boss will drop additional Gold |
| Gold | 2 | Empowered Boss will drop hoards of Gold |
| Rarity | 1 | Empowered Boss has greatly increased item Rarity (+50%) |
| Rarity | 2 | Empowered Boss has massively increased item Rarity (+80%) |
| Rarity | 3 | Empowered Boss has extremely increased item Rarity (+120%, Area Level 80+) |
| Fated Items (Block) | 1 | Empowered Monster will drop additional Rare <Item Class> <Item class> dropped by Empowered Monster will have no <modifier tag> modifiers |
| Fated Items (Guarantee) | 1 | Empowered Monster will drop additional Rare <Item Class> <Item class> dropped by Empowered Monster will have a <modifier tag> modifier |
About the Author