| name | description |
|---|---|
| Name | The Awakened |
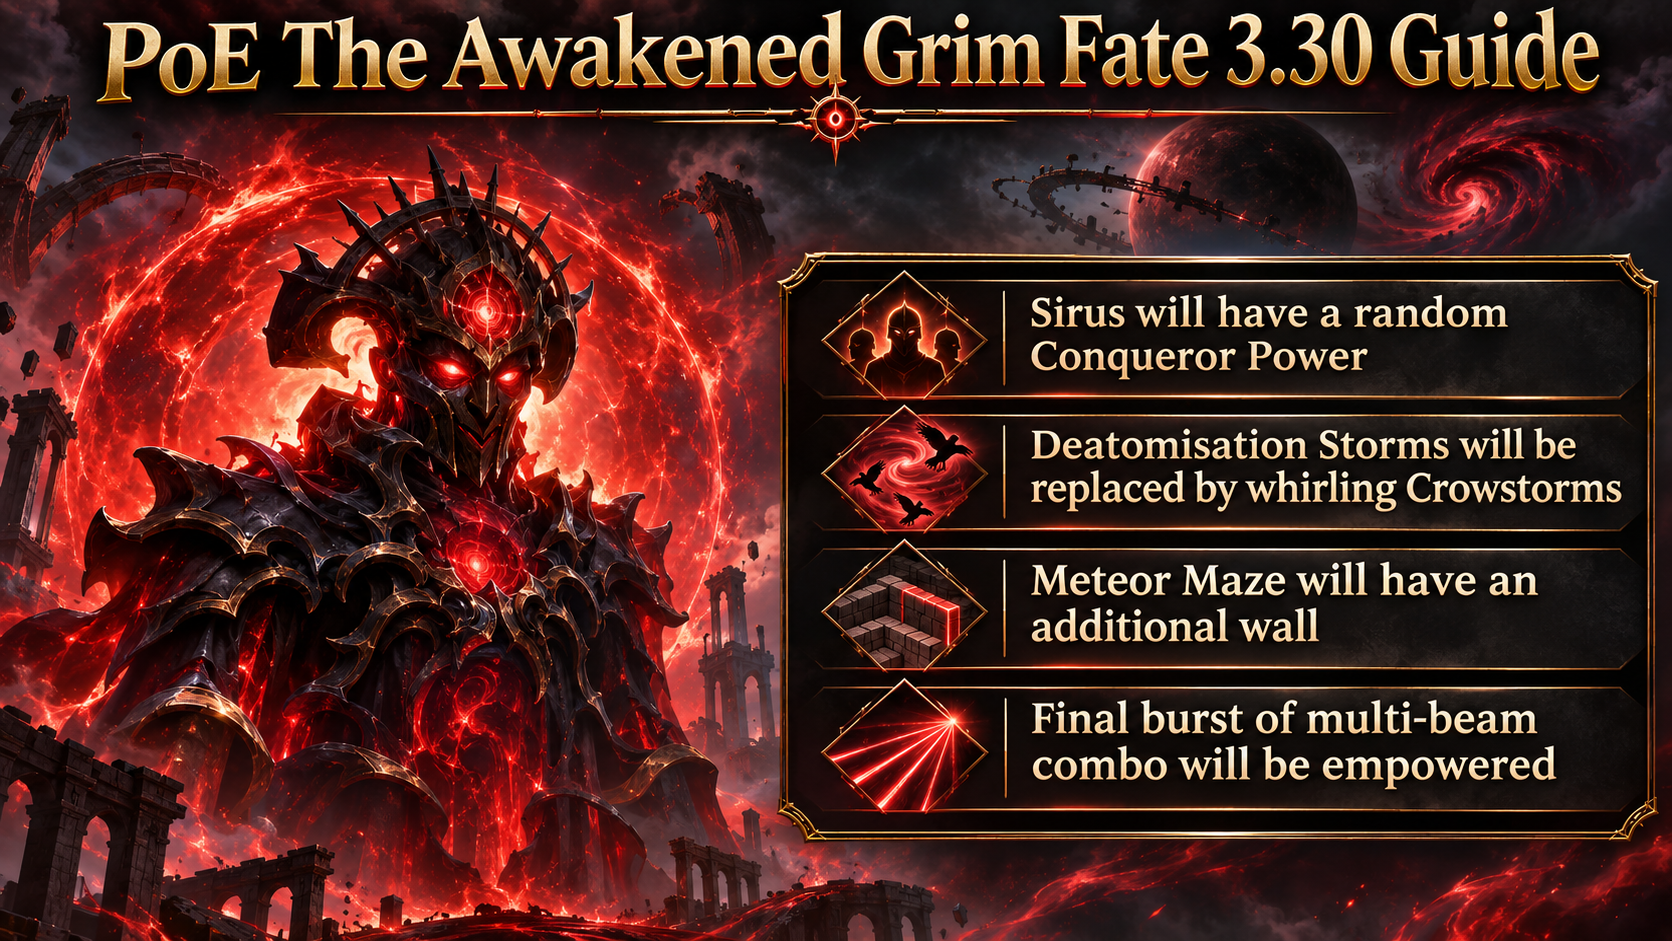
| description | Sirus will have a Conqueror Power at random. |
| Long Description | Sirus gains a random Conqueror Power. His Deatomisation Storms are replaced by whirling Crowstorms, his Meteor Maze gains an additional wall, and the final burst of his multi-beam combo is empowered. |
What The Awakened Grim Fate Changes
The Awakened is a Grim Fate for Sirus. Its effects add pressure to several parts of the encounter: Crowstorms replace the usual Deatomisation Storms, the Meteor Maze has an extra wall to escape, and Sirus’s final multi-beam burst is more dangerous. He also gains a random Conqueror Power. The Fate description does not identify which Power will be selected, so prepare to react to the effect you see in the encounter.
Using Fates
In campaign areas and maps, unique bosses held by the Coven Queen’s darkness remain immobilized until you invoke Fates to release them. You can invoke up to two Fates during the campaign; a third slot becomes available automatically in maps. Fates modify the encounter and can add rewards. Some rewards apply from a single matching Fate, while combo rewards require two or three Fates with the same reward marker. Additional matching Fates may contribute toward another reward.
Defeating an empowered boss can drop Viscera associated with that boss. Place Viscera on the Wickerman to gain its stats.
A Fate’s tier is shown by one, two, or three feather symbols. Higher tiers increase the item rarity bonus and add more dangerous effects. Campaign Fates are Tier 1; Fates found in maps are Tier 2.
Invoking duplicates can upgrade a Fate’s tier and multiply its rewards. Under the 3.30.0b Hotfix 3 rules described for this system, you can invoke three copies of the same Fate: the first and third copies have their rewards tripled, while the second copy is ignored. This replaced the earlier restriction against using the same Fate three times.
Grim Fates are a separate endgame mechanic. A random Grim Fate can sometimes be claimed after defeating an empowered Tier 16 map boss. Grim Fates are retained at the Wickerman and can be used to empower specific Atlas pinnacle bosses. These encounters can drop Pinnacle Boss Viscera, which grant exclusive stats based on the bosses’ unique items, as well as a Cursed Poppet used to fight the Coven Queen. Activate a Grim Fate for its intended boss encounter through the Atlas and Map Device encounter options.
How to Prepare for Sirus
Sirus’s attacks cover physical, elemental, and chaos damage. A stable defense matters more than trying to stand still and absorb his attacks. Cap your elemental resistances, bring as much chaos resistance and life or energy shield as your build can reasonably support, and prepare for ailments. Corrupted Blood immunity is particularly useful because one of his beam attacks can inflict it.
Bring a reliable movement skill and keep it available for major telegraphed attacks. Damage over time and minion builds can keep dealing damage while moving, but every build should be able to track Sirus and reposition quickly. The arena’s persistent ground effects and storm hazards can make recovery difficult if you stay in one place too long.
With The Awakened active, watch the arena for the new Crowstorms and give them room. Don’t assume that storm movement or safe paths will match the standard encounter.
How to Defeat Sirus
Keep Sirus in View
Sirus frequently teleports, and his most dangerous attacks depend on where he is facing. Move toward him after a teleport so you can see his position and read his next action. Avoid chasing blindly through Crowstorms or other hazardous ground.
During transitions, Sirus retreats to his throne while the arena changes. Approach carefully and resume the fight when you can reach him safely; running through a storm to force damage is likely to cost more than it gains.
Dodge the “Die” Beam
When Sirus says “Die,” move immediately. The beam can deal severe damage and inflict ailments. A quick movement skill perpendicular to his firing line is usually safer than trying to outrun it in the same direction. Keep moving when he teleports, since he may line up another attack quickly.
Escape the Awakened Meteor Maze
Sirus traps you inside concentric walls. Look for the animated flare that marks an opening in each wall and move through the openings before the maze collapses. The Awakened version adds an extra wall, so keep following the marked route instead of stopping after the usual number of rings. Save your movement skill for a tight turn or a blocked route.
Respect the Final Multi-Beam Combo
In the final phase, Sirus creates clones and fires a multi-beam attack. The Awakened Fate empowers the combo’s final burst. Watch Sirus’s position and the attack’s cues, then move out of the beam path before it fires. Avoid standing still to finish a damage window; survive the burst, then resume attacking.
Manage Ground Hazards and Beam Effects
Avoid lingering ground effects, and don’t cross rotating beams casually. Sirus’s beam patterns can apply a stacking debuff that slows you and makes you more vulnerable to damage. If several hazards overlap, prioritize moving to safe ground over squeezing in another attack.
The main strategy is to stay mobile, keep Sirus in view, and use each voice line and visual cue to identify the next attack. The Awakened Fate makes the maze and final beam sequence less forgiving, so short, safe damage windows are more reliable than trying to facetank the encounter.
List of Rewards
| Reward type | Combo | Description |
|---|---|---|
| Currency | 1 | Empowered Boss will drop additional Currency Items |
| Currency | 2 | Empowered Boss will drop additional Currency Items (Area Level 81+) |
| Currency | 3 | Empowered Boss will drop additional Valuable Currency Items |
| Maps | 1 | Empowered Boss will drop an additional Rare Map |
| Maps | 2 | Empowered Boss will drop many additional Rare Maps |
| Threads | 1 | Empowered Boss will drop additional Threads |
| Threads | 2 | Empowered Boss will drop many additional Threads |
| Threads | 2 | Empowered Boss will drop many additional Threads |
| Stacked Decks | 1 | Empowered Boss will drop additional Stacked Decks |
| Stacked Decks | 2 | Empowered Boss will drop many additional Stacked Decks |
| Gems | 1 | Empowered Monster will drop additional Gems with Quality |
| Gems | 1 | Empowered Monster will drop additional Gems, some of which will be maximum Quality |
| Gems | 2 | Empowered Monster will drop additional Gems, some of which will be maximum Quality |
| Gems | 2 | Empowered Monster will drop additional Gems with maximum Quality (Area Level 81+) |
| Exceptional Gem | 3 | Empowered Monster will drop an additional Exceptional Gem |
| Unique Weapon | 1 | Empowered Boss will drop an additional Unique Weapon |
| Unique Weapon | 1 | Empowered Boss will drop an additional Valuable Unique Weapon (T3+) |
| Unique Armour | 1 | Empowered Boss will drop an additional Unique Armour |
| Unique Armour | 1 | Empowered Boss will drop an additional Valuable Unique Armour (T3+) |
| Unique Jewellery | 1 | Empowered Boss will drop an additional Unique Jewellery |
| Unique Jewellery | 1 | Empowered Boss will drop an additional Valuable Unique Jewellery Item (T3+) |
| Unique Jewel | 2 | Empowered Boss will drop an additional Unique Jewel |
| Unique Flask | 1 | Empowered Boss will drop an additional Unique Flask |
| Corpse Rose | 2 | Empowered Monster will drop Corpse Rose |
| Hide of the Vendigo | 2 | Empowered Monster will drop Hide of the Vendigo |
| Ordered Fate | 2 | Empowered Monster will drop Ordered Fate |
| Doedre’s Tongue | 2 | Empowered Monster will drop Doedre’s Tongue |
| Dreadmaidens’ Sacrament | 2 | Empowered Monster will drop Dreadmaidens’ Sacrament |
| Viscera | 2 | Empowered Monster will drop a Viscera Item (+100%) |
| Gold | 1 | Empowered Boss will drop additional Gold |
| Gold | 2 | Empowered Boss will drop hoards of Gold |
| Rarity | 1 | Empowered Boss has greatly increased item Rarity (+50%) |
| Rarity | 2 | Empowered Boss has massively increased item Rarity (+80%) |
| Rarity | 3 | Empowered Boss has extremely increased item Rarity (+120%, Area Level 80+) |
| Fated Items (Block) | 1 | Empowered Monster will drop additional Rare <Item Class>; <Item class> dropped by Empowered Monster will have no <modifier tag> modifiers |
| Fated Items (Guarantee) | 1 | Empowered Monster will drop additional Rare <Item Class>; <Item class> dropped by Empowered Monster will have a <modifier tag> modifier |
About the Author