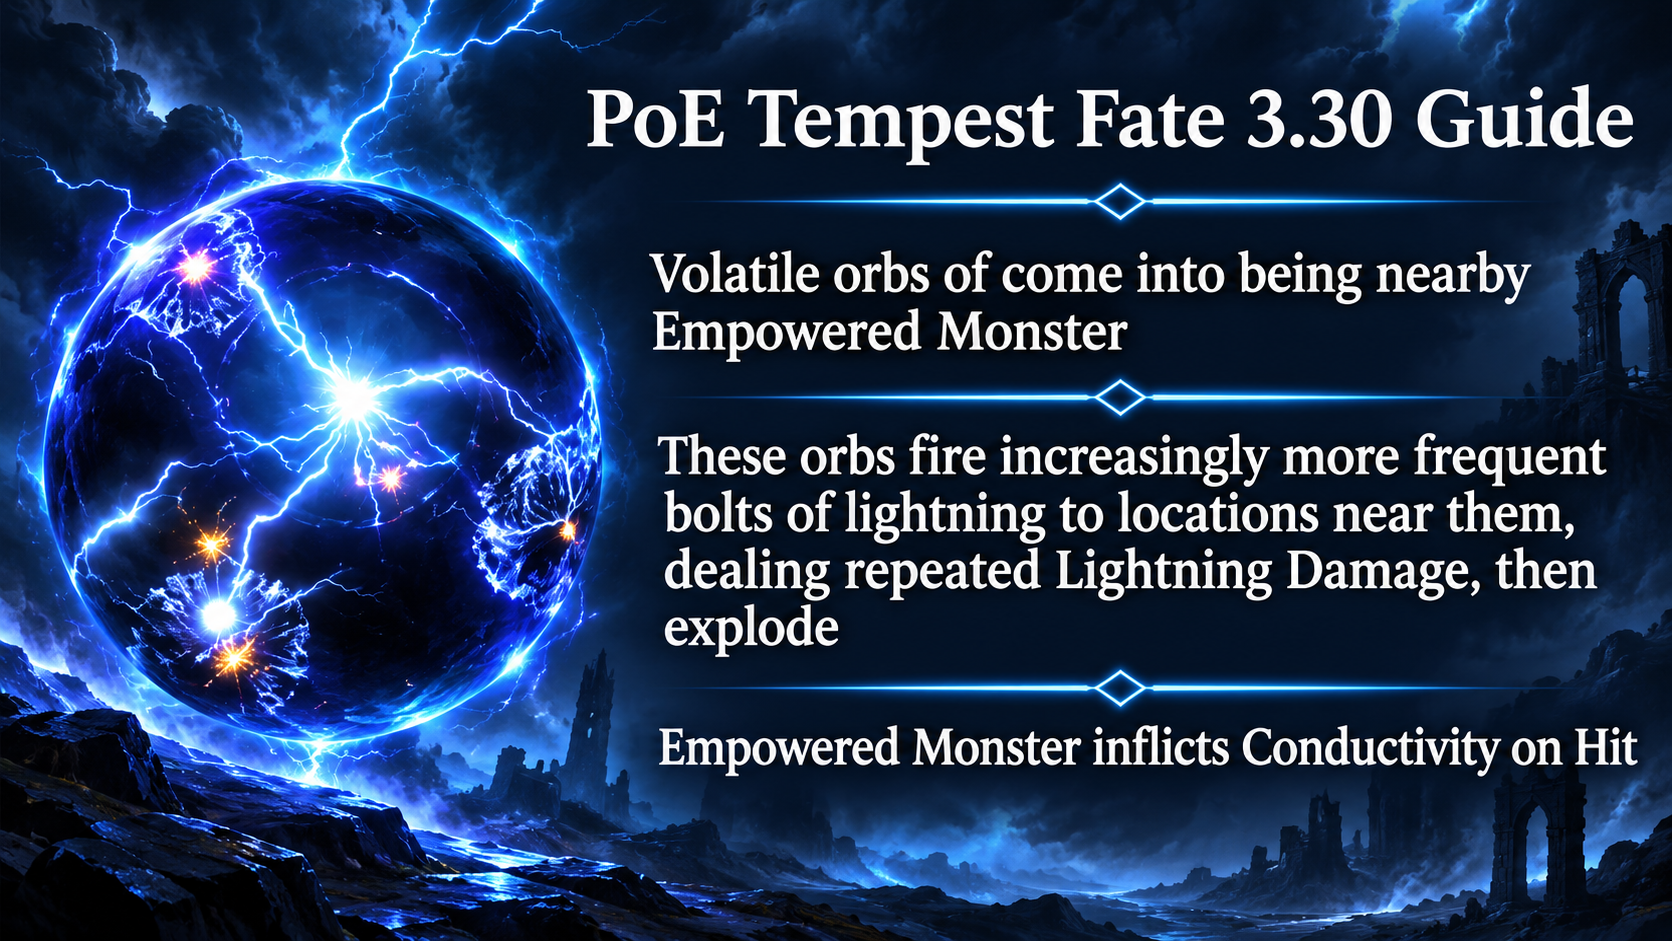
Tempest adds lightning hazards to a Fate-empowered boss fight. Volatile lightning orbs appear near the empowered monster, fire bolts at nearby locations with increasing frequency, and then explode. The monster also applies Conductivity on hit. Each tier uses these core effects; higher tiers make the encounter more dangerous.
| name | description |
|---|---|
| short description | Creates volatile orbs of lightning. |
| description | Tempest places volatile lightning orbs near the Empowered Monster. The orbs fire bolts at nearby locations with increasing frequency, dealing repeated Lightning Damage before exploding. The Empowered Monster inflicts Conductivity on hit. |
| Tier 1 | Lightning orbs appear near the Empowered Monster, fire increasingly frequent bolts at nearby locations, deal repeated Lightning Damage, and then explode. The monster inflicts Conductivity on hit. |
| Tier 2 | Lightning orbs appear near the Empowered Monster, fire increasingly frequent bolts at nearby locations, deal repeated Lightning Damage, and then explode. The monster inflicts Conductivity on hit. |
| Tier 3 | Lightning orbs appear near the Empowered Monster, fire increasingly frequent bolts at nearby locations, deal repeated Lightning Damage, and then explode. The monster inflicts Conductivity on hit. |
What Conductivity Does
Conductivity is a spell that curses targets in an area, lowering their Lightning Resistance and giving hits against them a chance to Shock. When the Empowered Monster applies it to you, your reduced Lightning Resistance makes the orbs and the boss’s lightning damage more dangerous.
How to Defend Against Tempest
- Keep moving when the orbs start firing. Their bolts target nearby locations, so staying still makes it easier to be hit repeatedly. Move out of the marked areas and keep repositioning as the firing rate increases.
- Give the orbs room. Their final explosion adds another threat after the bolts. Avoid standing beside an orb while focusing on the boss.
- Keep Lightning Resistance capped. Conductivity lowers it on hit, so a character barely at the cap may take more Lightning Damage after being cursed. Extra resistance can provide a buffer, where available.
- Prepare for Shock. Shock increases damage taken. Use Shock avoidance or mitigation if your build has access to it, and don’t assume high Lightning Resistance alone prevents Shock.
- Don’t trade hits in one place. Use brief attack windows between volleys, then move again. A movement skill can help you leave a dangerous area, but avoid dashing into another orb’s firing zone.
How to Attack the Empowered Monster
Tempest pressures you to move, but abandoning damage whenever an orb appears can make the fight drag on. Keep the boss in view, deal damage while repositioning, and use the short gaps between volleys for longer attacks. If your build deals Lightning Damage, remember that Conductivity is applied to you by the monster; it does not lower the monster’s Lightning Resistance. Keep your own defenses ready and maintain steady damage rather than trying to face-tank the hazards.
Using Fates
In campaign areas and maps, the Coven Queen’s darkness immobilizes unique bosses until you invoke Fates to release them. You can invoke up to two Fates during the campaign; a third slot becomes available automatically in maps. Each Fate changes the boss encounter and adds rewards. Some rewards apply individually, while combo rewards need two or three Fates with the same reward marker. Extra matching Fates may also contribute toward another reward.
Defeating a Fate-empowered boss can drop Viscera associated with that boss. Place Viscera on the Wickerman to gain its stats.
Fates have tiers shown by one, two, or three feather symbols. Higher-tier Fates provide a greater item rarity bonus and add more dangerous effects. Fates found during the campaign are Tier 1; those found in maps are Tier 2.
Invoking duplicate Fates can upgrade the Fate’s tier and multiply its rewards. Under the 3.30.0b Hotfix 3 rules, you can invoke three copies of the same Fate: the first and third copies have their rewards tripled, while the second copy is ignored. This replaced the earlier restriction that prevented using the same Fate three times.
List of Rewards
| Reward type | Combo | Description |
|---|---|---|
| Currency | 1 | Empowered Boss will drop additional Currency Items |
| Currency | 2 | Empowered Boss will drop additional Currency Items (Area Level 81+) |
| Currency | 3 | Empowered Boss will drop additional Valuable Currency Items |
| Maps | 1 | Empowered Boss will drop an additional Rare Map |
| Maps | 2 | Empowered Boss will drop many additional Rare Maps |
| Threads | 1 | Empowered Boss will drop additional Threads |
| Threads | 2 | Empowered Boss will drop many additional Threads |
| Threads | 2 | Empowered Boss will drop many additional Threads |
| Stacked Decks | 1 | Empowered Boss will drop additional Stacked Decks |
| Stacked Decks | 2 | Empowered Boss will drop many additional Stacked Decks |
| Gems | 1 | Empowered Monster will drop additional Gems with Quality |
| Gems | 1 | Empowered Monster will drop additional Gems, some of which will be maximum Quality |
| Gems | 2 | Empowered Monster will drop additional Gems, some of which will be maximum Quality |
| Gems | 2 | Empowered Monster will drop additional Gems with maximum Quality (Area Level 81+) |
| Exceptional Gem | 3 | Empowered Monster will drop an additional Exceptional Gem |
| Unique Weapon | 1 | Empowered Boss will drop an additional Unique Weapon |
| Unique Weapon | 1 | Empowered Boss will drop an additional Valuable Unique Weapon (T3+) |
| Unique Armour | 1 | Empowered Boss will drop an additional Unique Armour |
| Unique Armour | 1 | Empowered Boss will drop an additional Valuable Unique Armour (T3+) |
| Unique Jewellery | 1 | Empowered Boss will drop an additional Unique Jewellery |
| Unique Jewellery | 1 | Empowered Boss will drop an additional Valuable Unique Jewellery Item (T3+) |
| Unique Jewel | 2 | Empowered Boss will drop an additional Unique Jewel |
| Unique Flask | 1 | Empowered Boss will drop an additional Unique Flask |
| Corpse Rose | 2 | Empowered Monster will drop Corpse Rose |
| Hide of the Vendigo | 2 | Empowered Monster will drop Hide of the Vendigo |
| Ordered Fate | 2 | Empowered Monster will drop Ordered Fate |
| Doedre’s Tongue | 2 | Empowered Monster will drop Doedre’s Tongue |
| Dreadmaidens’ Sacrament | 2 | Empowered Monster will drop Dreadmaidens’ Sacrament |
| Viscera | 2 | Empowered Monster will drop a Viscera Item (+100%) |
| Gold | 1 | Empowered Boss will drop additional Gold |
| Gold | 2 | Empowered Boss will drop hoards of Gold |
| Rarity | 1 | Empowered Boss has greatly increased item Rarity (+50%) |
| Rarity | 2 | Empowered Boss has massively increased item Rarity (+80%) |
| Rarity | 3 | Empowered Boss has extremely increased item Rarity (+120%, Area Level 80+) |
| Fated Items (Block) | 1 | Empowered Monster will drop additional Rare <Item Class>; <Item class> dropped by Empowered Monster will have no <modifier tag> modifiers |
| Fated Items (Guarantee) | 1 | Empowered Monster will drop additional Rare <Item Class>; <Item class> dropped by Empowered Monster will have a <modifier tag> modifier |
About the Author