Gravewalker Fate
| Name | Description |
|---|---|
| Short description | Creates fissures of bloated corpses. |
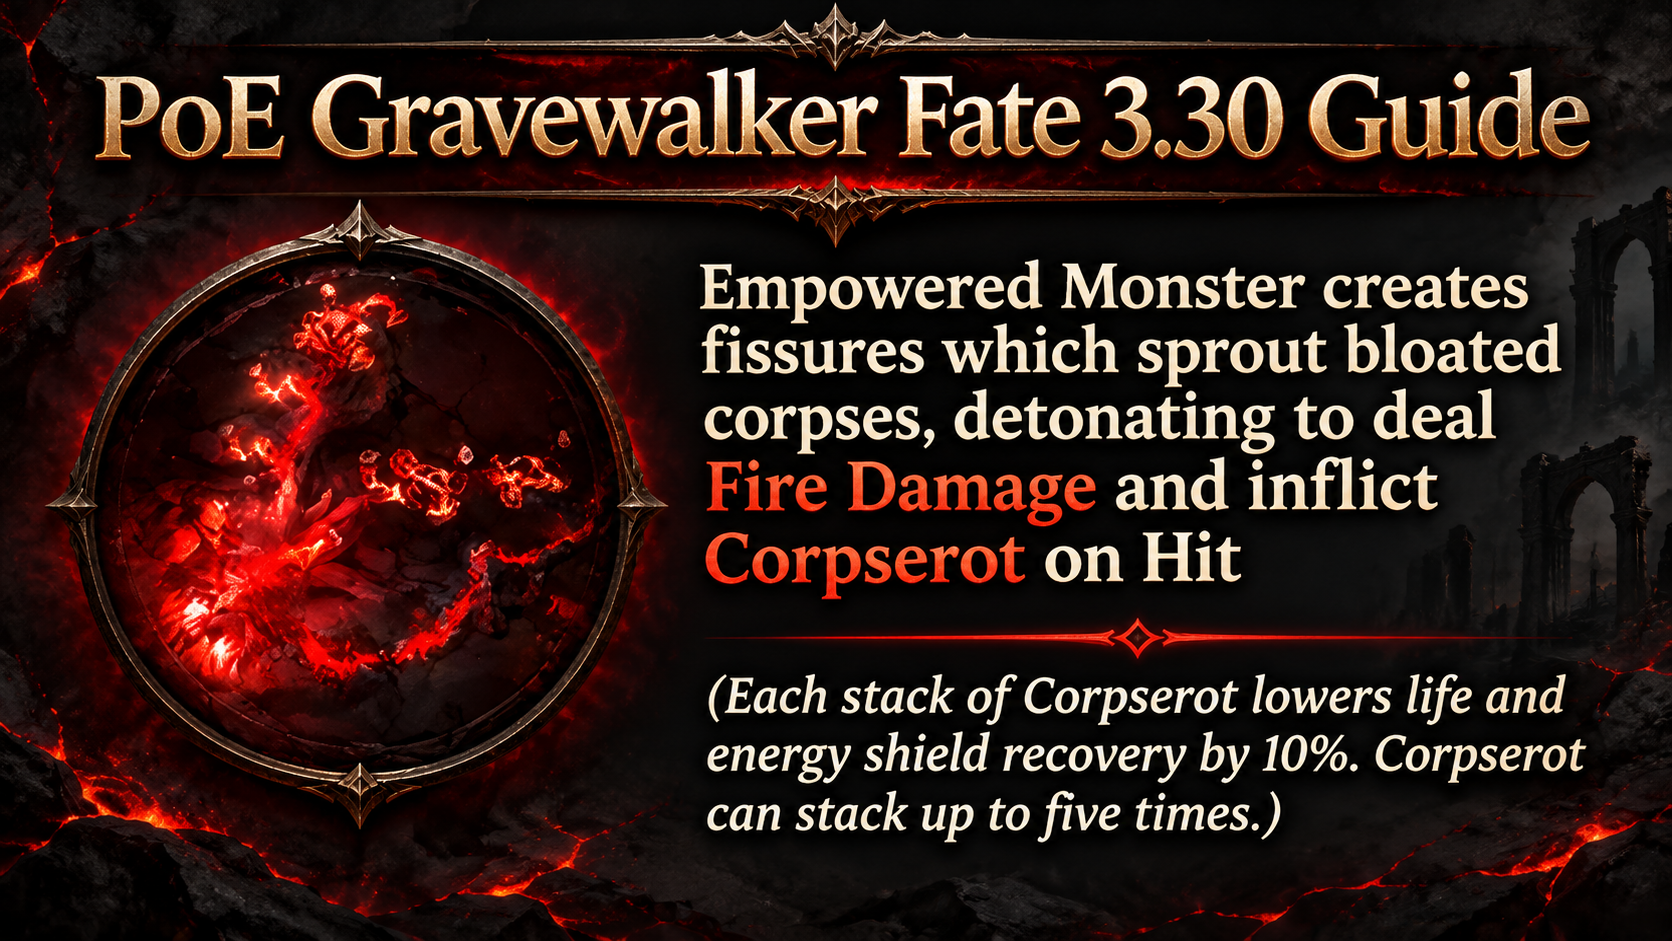
| Description | The Empowered Monster creates fissures that sprout bloated corpses. The corpses detonate, dealing Fire Damage and inflicting Corpserot on Hit. Each Corpserot stack reduces Life and Energy Shield recovery by 10%, up to five stacks. |
| Tier 1 | The Empowered Monster creates corpse fissures that detonate for Fire Damage and inflict Corpserot on Hit. |
| Tier 2 | The Empowered Monster creates corpse fissures that detonate for Fire Damage and inflict Corpserot on Hit. |
| Tier 3 | The Empowered Monster creates corpse fissures that detonate for Fire Damage and inflict Corpserot on Hit. |
The core fissure and Corpserot effect is the same across all three tiers. The tier rank rises from 1 to 3, and higher-tier Fates provide a greater item rarity bonus.
How to Defend Against Gravewalker
Watch the ground for fissures and move away when they appear. The bloated corpses detonate, so avoid standing on or near a fissure while it is active. Keep moving around the boss instead of committing to a long attack from one position.
The explosions deal Fire Damage, so Fire Resistance and reliable defenses against hits help reduce the danger. Corpserot is a separate concern: each stack reduces Life and Energy Shield recovery by 10%, and it can reach five stacks. Avoiding hits is the most direct way to prevent the debuff from building up. If you do get several stacks, be cautious about relying on rapid recovery to survive the next hit.
How to Attack a Gravewalker Empowered Monster
Prioritize movement when fissures appear, then resume attacking once you have left their danger area. Builds that can deal damage while moving have an easier time avoiding both the explosions and repeated Corpserot hits.
If your build needs to stand still to deal damage, use short attack windows and reposition as soon as fissures threaten your location. Avoid trading hits during a prolonged damage phase: Corpserot weakens your recovery, making repeated hits more dangerous over time.
Using Fates
In campaign areas and maps, the Coven Queen’s darkness holds the area’s unique boss in place until you invoke Fates. Invoking Fates releases and empowers the boss, changing the encounter and adding rewards. During the campaign, you can invoke up to two Fates; maps provide a third slot. Gravewalker adds fissures that sprout bloated corpses, which detonate for Fire Damage and inflict Corpserot on Hit.
Defeating a Fate-empowered boss can drop Viscera associated with that boss. Place the Viscera on the Wickerman to gain its stats.
Fates have tiers shown by one, two, or three feather symbols. Higher tiers provide a greater item rarity bonus and bring more dangerous effects. Campaign Fates are Tier 1; Fates found in maps are Tier 2.
Under the 3.30.0b Hotfix 3 rules, you can invoke three copies of the same Fate. The first and third copies have their rewards tripled, while the second copy is ignored.
List of Rewards
| Reward type | Combo | Description |
|---|---|---|
| Currency | 1 | Empowered Boss will drop additional Currency Items |
| Currency | 2 | Empowered Boss will drop additional Currency Items (Area Level 81+) |
| Currency | 3 | Empowered Boss will drop additional Valuable Currency Items |
| Maps | 1 | Empowered Boss will drop an additional Rare Map |
| Maps | 2 | Empowered Boss will drop many additional Rare Maps |
| Threads | 1 | Empowered Boss will drop additional Threads |
| Threads | 2 | Empowered Boss will drop many additional Threads |
| Threads | 2 | Empowered Boss will drop many additional Threads |
| Stacked Decks | 1 | Empowered Boss will drop additional Stacked Decks |
| Stacked Decks | 2 | Empowered Boss will drop many additional Stacked Decks |
| Gems | 1 | Empowered Monster will drop additional Gems with Quality |
| Gems | 1 | Empowered Monster will drop additional Gems, some of which will be maximum Quality |
| Gems | 2 | Empowered Monster will drop additional Gems, some of which will be maximum Quality |
| Gems | 2 | Empowered Monster will drop additional Gems with maximum Quality (Area Level 81+) |
| Exceptional Gem | 3 | Empowered Monster will drop an additional Exceptional Gem |
| Unique Weapon | 1 | Empowered Boss will drop an additional Unique Weapon |
| Unique Weapon | 1 | Empowered Boss will drop an additional Valuable Unique Weapon (T3+) |
| Unique Armour | 1 | Empowered Boss will drop an additional Unique Armour |
| Unique Armour | 1 | Empowered Boss will drop an additional Valuable Unique Armour (T3+) |
| Unique Jewellery | 1 | Empowered Boss will drop an additional Unique Jewellery |
| Unique Jewellery | 1 | Empowered Boss will drop an additional Valuable Unique Jewellery Item (T3+) |
| Unique Jewel | 2 | Empowered Boss will drop an additional Unique Jewel |
| Unique Flask | 1 | Empowered Boss will drop an additional Unique Flask |
| Corpse Rose | 2 | Empowered Monster will drop Corpse Rose |
| Hide of the Vendigo | 2 | Empowered Monster will drop Hide of the Vendigo |
| Ordered Fate | 2 | Empowered Monster will drop Ordered Fate |
| Doedre’s Tongue | 2 | Empowered Monster will drop Doedre’s Tongue |
| Dreadmaidens’ Sacrament | 2 | Empowered Monster will drop Dreadmaidens’ Sacrament |
| Viscera | 2 | Empowered Monster will drop a Viscera Item (+100%) |
| Gold | 1 | Empowered Boss will drop additional Gold |
| Gold | 2 | Empowered Boss will drop hoards of Gold |
| Rarity | 1 | Empowered Boss has greatly increased item Rarity (+50%) |
| Rarity | 2 | Empowered Boss has massively increased item Rarity (+80%) |
| Rarity | 3 | Empowered Boss has extremely increased item Rarity (+120%, Area Level 80+) |
| Fated Items (Block) | 1 | Empowered Monster will drop additional Rare <Item Class>; <Item class> dropped by Empowered Monster will have no <modifier tag> modifiers |
| Fated Items (Guarantee) | 1 | Empowered Monster will drop additional Rare <Item Class>; <Item class> dropped by Empowered Monster will have a <modifier tag> modifier |
About the Author