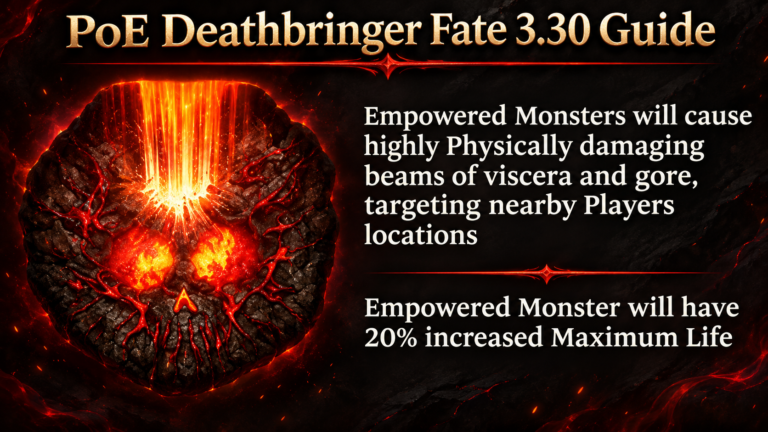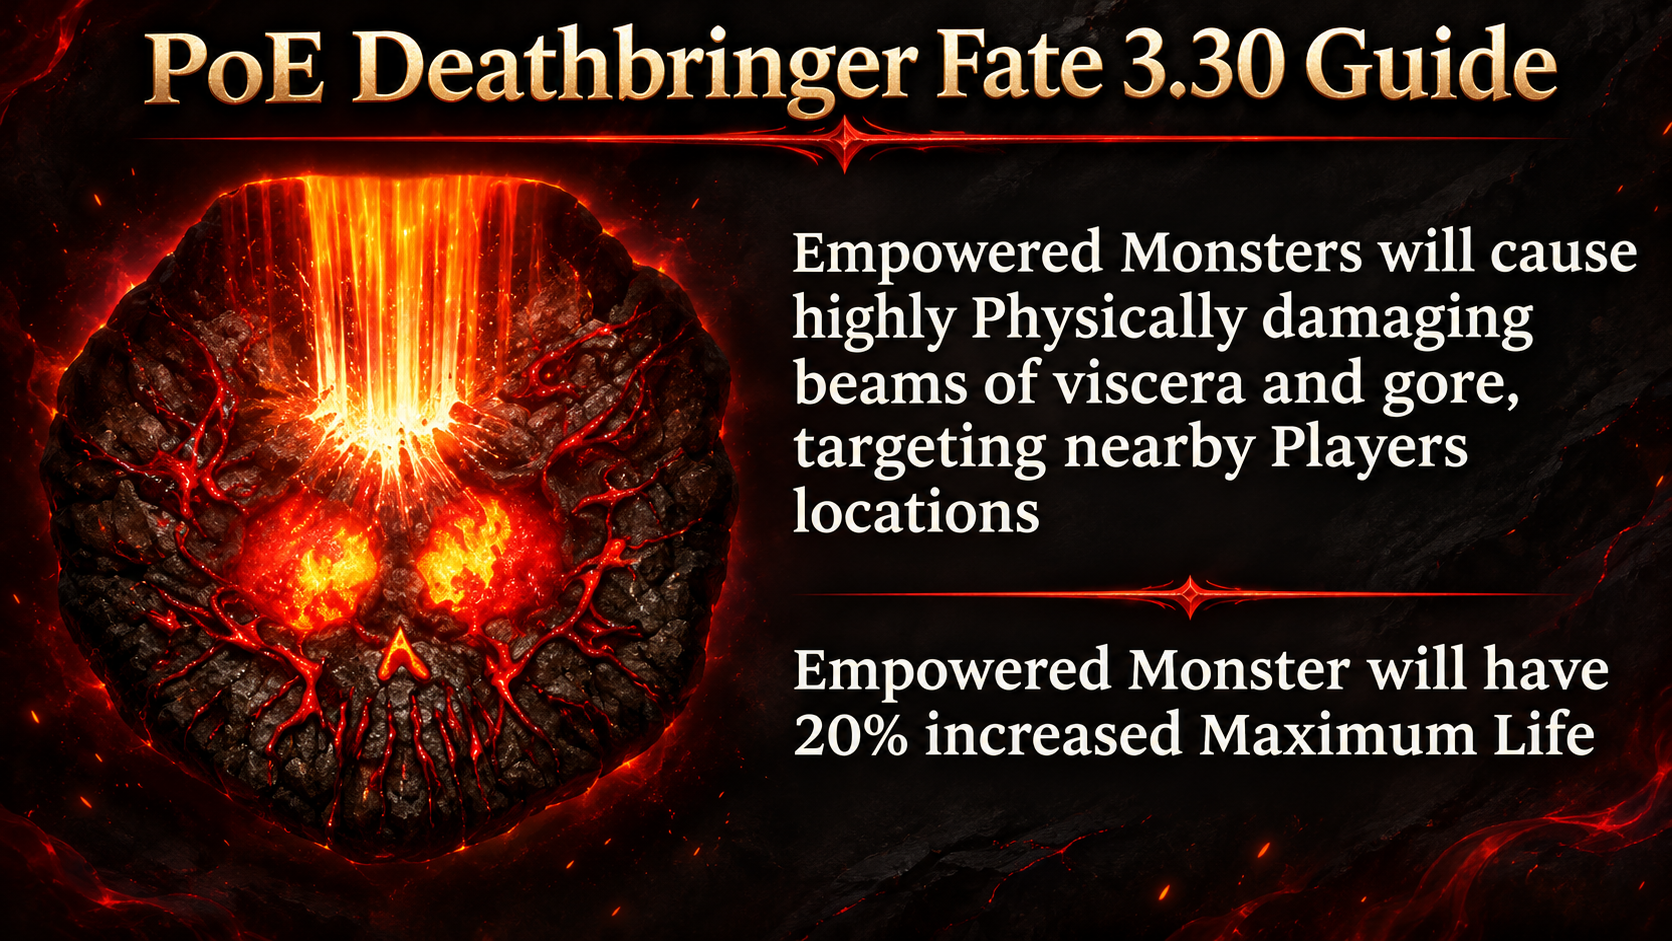
Deathbringer adds targeted beams of viscera and gore to a Fate-empowered encounter. The beams deal heavy physical damage, and the empowered monster gains increased maximum Life. The beam effect is the same across all three tiers; the Life bonus rises from 20% to 60%.
| Name | Description |
|---|---|
| Short description | Causes beams of viscera and gore |
| Description | The empowered monster targets nearby player locations with beams of viscera and gore that deal heavy physical damage. |
| Tier 1 | The empowered monster has 20% increased maximum Life. |
| Tier 2 | The empowered monster has 40% increased maximum Life. |
| Tier 3 | The empowered monster has 60% increased maximum Life. |
How to Defend Against Deathbringer
The beams target nearby player locations, so movement is your main defense. Keep moving during the encounter and leave the location being targeted as soon as you recognize the attack. Avoid standing still to deal damage, and take care not to move back through a dangerous area while repositioning.
Because the beams deal heavy physical damage, build defense against physical hits. Physical damage reduction, a suitable guard skill, and enough Life or Energy Shield can help you survive a mistake. Do not rely on Armour alone against a particularly large hit; combine it with other defenses and keep your recovery options ready.
At higher tiers, the empowered monster has substantially more Life. The beam threat remains, but the longer fight gives it more opportunities to attack. Prioritize safe movement over trying to finish the encounter with one uninterrupted damage window.
How to Attack a Deathbringer-Empowered Monster
The increased Life makes the monster take longer to defeat, so plan to deal damage in short openings between beam attacks. Skills that continue dealing damage while you move—such as damage over time, minions, or other mobile attacks—can help you maintain pressure without standing still.
Use high-damage windows when the attack gives you room to do so, then reposition. Avoid chasing damage through a targeted area. Deathbringer’s listed effects do not specify a special resistance or damage weakness, so use your build’s normal damage strategy while managing the physical beams.
Using Fates
In campaign areas and maps, the Coven Queen’s darkness immobilizes the area’s unique boss until you invoke Fates to release it. You can invoke up to two Fates during the campaign, with a third slot available in maps. Each Fate changes the encounter and adds rewards. Some rewards apply individually, while combo rewards require matching reward markers across two or three Fates.
Defeating a Fate-empowered boss can also yield Viscera associated with that boss. Place Viscera on the Wickerman to gain its stats.
Fates have tiers marked by one, two, or three feathers. Higher-tier Fates add more dangerous effects. Campaign Fates are Tier 1, while map Fates are Tier 2. Under the 3.30.0b Hotfix 3 rules, you can invoke three copies of the same Fate: the first and third copies have their rewards tripled, while the second copy is ignored.
List of Rewards
| Reward type | Combo | Description |
|---|---|---|
| Currency | 1 | Empowered Boss will drop additional Currency Items |
| Currency | 2 | Empowered Boss will drop additional Currency Items (Area Level 81+) |
| Currency | 3 | Empowered Boss will drop additional Valuable Currency Items |
| Maps | 1 | Empowered Boss will drop an additional Rare Map |
| Maps | 2 | Empowered Boss will drop many additional Rare Maps |
| Threads | 1 | Empowered Boss will drop additional Threads |
| Threads | 2 | Empowered Boss will drop many additional Threads |
| Threads | 2 | Empowered Boss will drop many additional Threads |
| Stacked Decks | 1 | Empowered Boss will drop additional Stacked Decks |
| Stacked Decks | 2 | Empowered Boss will drop many additional Stacked Decks |
| Gems | 1 | Empowered Monster will drop additional Gems with Quality |
| Gems | 1 | Empowered Monster will drop additional Gems, some of which will be maximum Quality |
| Gems | 2 | Empowered Monster will drop additional Gems, some of which will be maximum Quality |
| Gems | 2 | Empowered Monster will drop additional Gems with maximum Quality (Area Level 81+) |
| Exceptional Gem | 3 | Empowered Monster will drop an additional Exceptional Gem |
| Unique Weapon | 1 | Empowered Boss will drop an additional Unique Weapon |
| Unique Weapon | 1 | Empowered Boss will drop an additional Valuable Unique Weapon (T3+) |
| Unique Armour | 1 | Empowered Boss will drop an additional Unique Armour |
| Unique Armour | 1 | Empowered Boss will drop an additional Valuable Unique Armour (T3+) |
| Unique Jewellery | 1 | Empowered Boss will drop an additional Unique Jewellery |
| Unique Jewellery | 1 | Empowered Boss will drop an additional Valuable Unique Jewellery Item (T3+) |
| Unique Jewel | 2 | Empowered Boss will drop an additional Unique Jewel |
| Unique Flask | 1 | Empowered Boss will drop an additional Unique Flask |
| Corpse Rose | 2 | Empowered Monster will drop Corpse Rose |
| Hide of the Vendigo | 2 | Empowered Monster will drop Hide of the Vendigo |
| Ordered Fate | 2 | Empowered Monster will drop Ordered Fate |
| Doedre’s Tongue | 2 | Empowered Monster will drop Doedre’s Tongue |
| Dreadmaidens’ Sacrament | 2 | Empowered Monster will drop Dreadmaidens’ Sacrament |
| Viscera | 2 | Empowered Monster will drop a Viscera Item (+100%) |
| Gold | 1 | Empowered Boss will drop additional Gold |
| Gold | 2 | Empowered Boss will drop hoards of Gold |
| Rarity | 1 | Empowered Boss has greatly increased item Rarity (+50%) |
| Rarity | 2 | Empowered Boss has massively increased item Rarity (+80%) |
| Rarity | 3 | Empowered Boss has extremely increased item Rarity (+120%, Area Level 80+) |
| Fated Items (Block) | 1 | Empowered Monster will drop additional Rare <Item Class>; <Item class> dropped by Empowered Monster will have no <modifier tag> modifiers |
| Fated Items (Guarantee) | 1 | Empowered Monster will drop additional Rare <Item Class>; <Item class> dropped by Empowered Monster will have a <modifier tag> modifier |
About the Author