| name | description |
|---|---|
| Name | The Collector |
| description | Maven has a chance to gain a Power, Frenzy, or Endurance Charge when hit. |
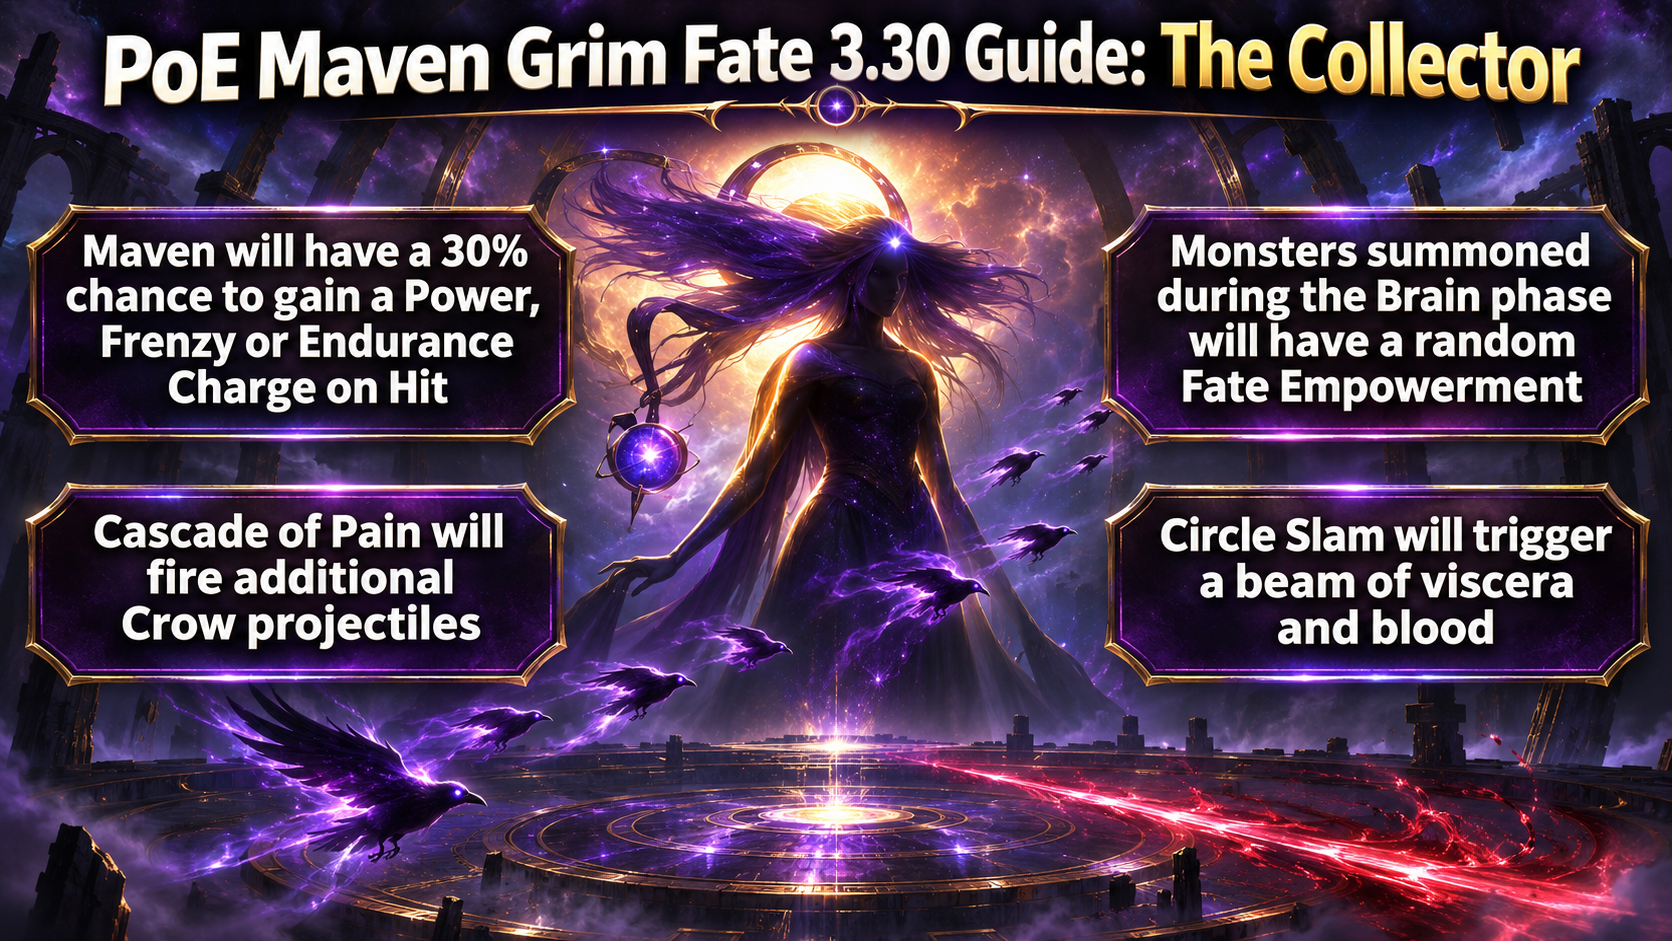
| Long Description | The Collector is a Grim Fate that empowers the Maven encounter. Maven has a 30% chance to gain a Power, Frenzy, or Endurance Charge on Hit. Monsters summoned during the Brain phase gain a random Fate Empowerment. Cascade of Pain fires additional Crow projectiles, and Circle Slam triggers a beam of viscera and blood. |
How to Defend Against The Collector
The Collector adds threats to attacks that already require careful movement. Maven can gain charges when hit, the Brain phase summons Fate-empowered monsters, and two of her attacks gain extra effects. Treat this as a more dangerous version of the Maven fight: avoid attacks first, then use safe openings to deal damage.
- Keep moving during Cascade of Pain. The extra Crow projectiles make the volley harder to cross safely. Move laterally away from the projectile path instead of trying to run through it.
- Avoid Circle Slam, then watch for the beam. The slam triggers a beam of viscera and blood. Leave the slam area promptly and keep clear of the beam as the attack resolves.
- Expect Maven to gain charges as you hit her. The chance is 30% per hit. Characters that hit very rapidly should be ready for her to gain charges during normal damage windows; don’t assume she is still in a low-threat state.
- Handle Brain-phase monsters with care. Their random Fate Empowerment means they can bring extra hazards into the phase. Watch their effects and clear them when it is safe, rather than standing still to trade damage.
- Prepare for the regular Maven mechanics too. Keep enough recovery and damage mitigation to survive mistakes, but remember that some mechanics can restrict recovery. Save movement skills for urgent repositioning and prioritize avoiding the memory-game failure and dangerous arena effects.
How to Defeat Maven
The fight rewards steady damage and reliable movement more than risky bursts. Learn the rhythm of Maven’s attacks, take damage windows after dangerous sequences, and leave yourself room to react to the additional Crow projectiles and beam.
During the Brain phase, focus on completing the memory sequence correctly while keeping track of Fate-empowered monsters. If an add creates a hazard, reposition before resuming damage. Against Maven herself, watch for the start of Cascade of Pain and Circle Slam; move out of the incoming pattern rather than trying to tank it. A build with dependable single-target damage helps shorten the encounter, but surviving each phase cleanly is more valuable than forcing extra attacks.
Using Fates
In campaign areas and maps, the Coven Queen’s darkness immobilizes unique bosses until you invoke Fates to release them. You can invoke up to two Fates during the campaign; a third slot becomes available in maps. Each Fate changes the boss encounter and can add rewards. Some rewards apply from one Fate, while combo rewards require matching reward markers across multiple Fates.
Defeating a Fate-empowered boss can drop Viscera associated with that boss. Place Viscera on the Wickerman to gain its stats.
Fates have tiers shown by one, two, or three feather symbols. Higher-tier Fates provide a greater item-rarity bonus and add more dangerous effects. Campaign Fates are Tier 1; map Fates are Tier 2.
You can invoke three copies of the same Fate under the 3.30.0b Hotfix 3 rules: the first and third copies have their rewards tripled, while the second is ignored.
In the endgame, killing a Fate-empowered boss can grant a Grim Fate. Grim Fates are kept at the Wickerman and can be invoked for specific Atlas Pinnacle Boss encounters through the Atlas. They make those fights harder and can grant Pinnacle Boss Viscera with exclusive stats. Pinnacle encounters can also provide the Cursed Poppet used to challenge the Coven Queen.
The 3.30.0c patch also reduced damage from most Fate Empowerment effects and added further chase reward outcomes for invoking Fates in high-tier maps. Examples include Divine Orbs, a Mirror Shard, a Fracturing Orb, Hinekora’s Lock, and amulets with a Gem modifier.
List of Rewards
| Reward type | Combo | Description |
|---|---|---|
| Currency | 1 | Empowered Boss will drop additional Currency Items |
| Currency | 2 | Empowered Boss will drop additional Currency Items (Area Level 81+) |
| Currency | 3 | Empowered Boss will drop additional Valuable Currency Items |
| Maps | 1 | Empowered Boss will drop an additional Rare Map |
| Maps | 2 | Empowered Boss will drop many additional Rare Maps |
| Threads | 1 | Empowered Boss will drop additional Threads |
| Threads | 2 | Empowered Boss will drop many additional Threads |
| Threads | 2 | Empowered Boss will drop many additional Threads |
| Stacked Decks | 1 | Empowered Boss will drop additional Stacked Decks |
| Stacked Decks | 2 | Empowered Boss will drop many additional Stacked Decks |
| Gems | 1 | Empowered Monster will drop additional Gems with Quality |
| Gems | 1 | Empowered Monster will drop additional Gems, some of which will be maximum Quality |
| Gems | 2 | Empowered Monster will drop additional Gems, some of which will be maximum Quality |
| Gems | 2 | Empowered Monster will drop additional Gems with maximum Quality (Area Level 81+) |
| Exceptional Gem | 3 | Empowered Monster will drop an additional Exceptional Gem |
| Unique Weapon | 1 | Empowered Boss will drop an additional Unique Weapon |
| Unique Weapon | 1 | Empowered Boss will drop an additional Valuable Unique Weapon (T3+) |
| Unique Armour | 1 | Empowered Boss will drop an additional Unique Armour |
| Unique Armour | 1 | Empowered Boss will drop an additional Valuable Unique Armour (T3+) |
| Unique Jewellery | 1 | Empowered Boss will drop an additional Unique Jewellery |
| Unique Jewellery | 1 | Empowered Boss will drop an additional Valuable Unique Jewellery Item (T3+) |
| Unique Jewel | 2 | Empowered Boss will drop an additional Unique Jewel |
| Unique Flask | 1 | Empowered Boss will drop an additional Unique Flask |
| Corpse Rose | 2 | Empowered Monster will drop Corpse Rose |
| Hide of the Vendigo | 2 | Empowered Monster will drop Hide of the Vendigo |
| Ordered Fate | 2 | Empowered Monster will drop Ordered Fate |
| Doedre’s Tongue | 2 | Empowered Monster will drop Doedre’s Tongue |
| Dreadmaidens’ Sacrament | 2 | Empowered Monster will drop Dreadmaidens’ Sacrament |
| Viscera | 2 | Empowered Monster will drop a Viscera Item (+100%) |
| Gold | 1 | Empowered Boss will drop additional Gold |
| Gold | 2 | Empowered Boss will drop hoards of Gold |
| Rarity | 1 | Empowered Boss has greatly increased item Rarity (+50%) |
| Rarity | 2 | Empowered Boss has massively increased item Rarity (+80%) |
| Rarity | 3 | Empowered Boss has extremely increased item Rarity (+120%, Area Level 80+) |
| Fated Items (Block) | 1 | Empowered Monster will drop additional Rare <Item Class>; <Item class> dropped by Empowered Monster will have no <modifier tag> modifiers |
| Fated Items (Guarantee) | 1 | Empowered Monster will drop additional Rare <Item Class>; <Item class> dropped by Empowered Monster will have a <modifier tag> modifier |
About the Author