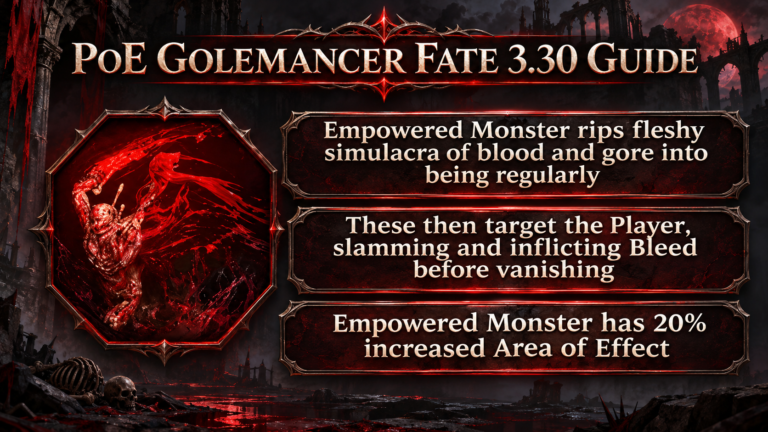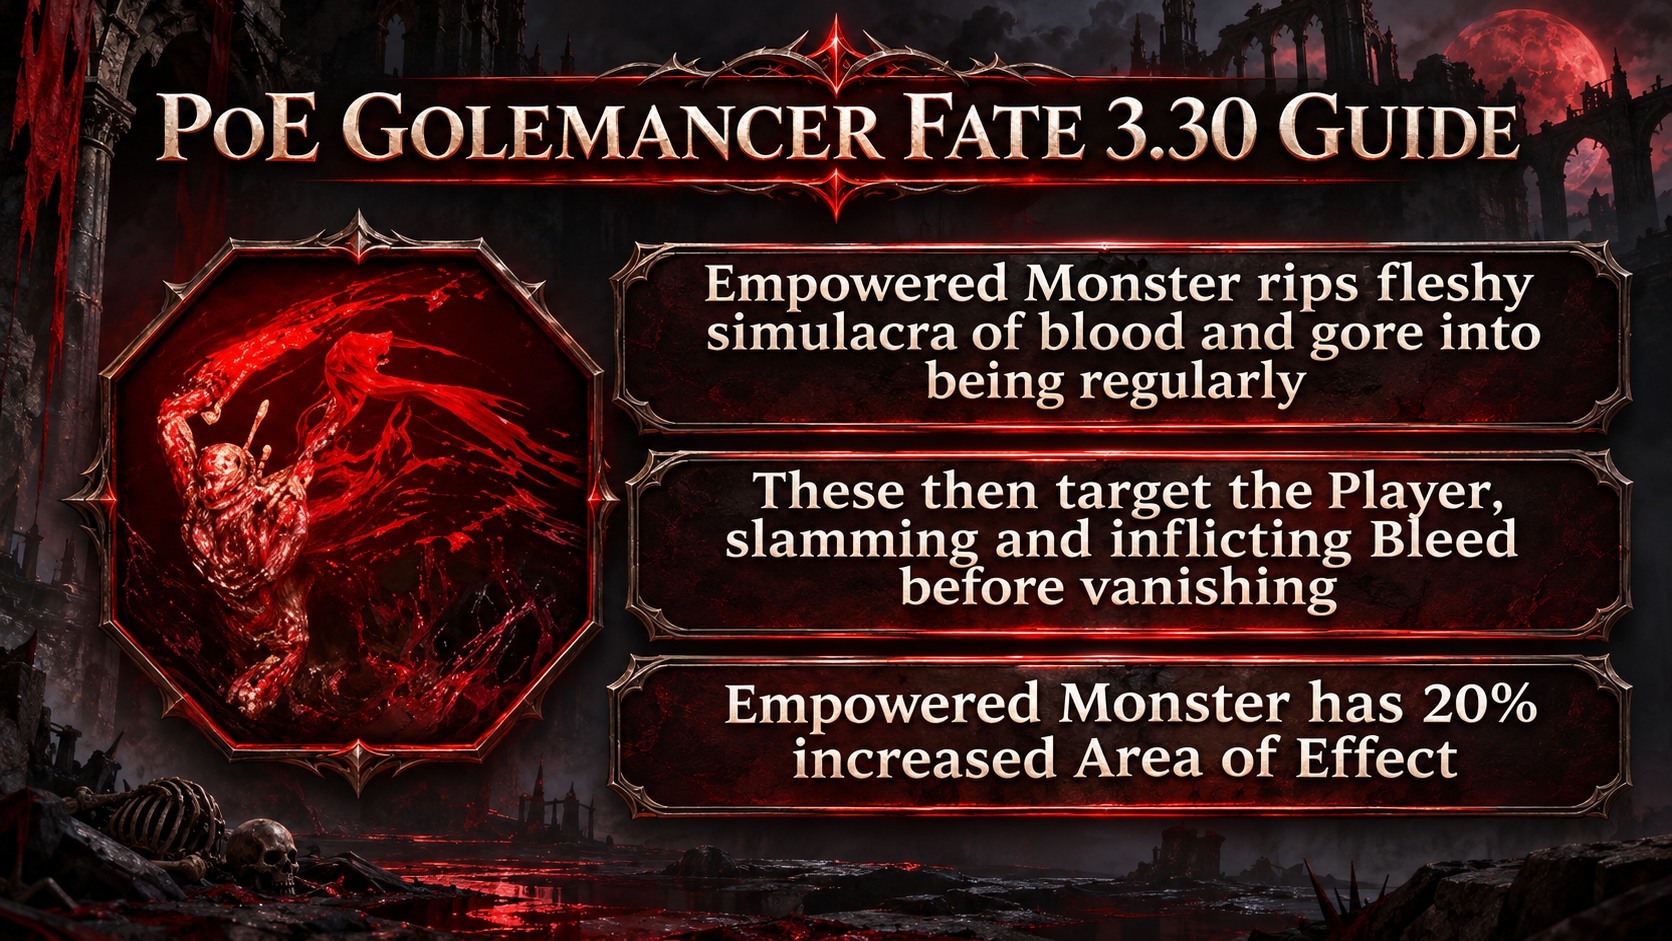
The Golemancer Fate adds blood-and-gore attacks to a boss encounter. It regularly creates fleshy simulacrums that target the player, slam down, inflict Bleed, and disappear. The empowered monster also gains increased Area of Effect: 20% at Tier 1, 30% at Tier 2, and 50% at Tier 3.
| name | description |
|---|---|
| short description | Spawns fleshy simulacrums of blood and gore. |
| description | The Empowered Monster regularly tears fleshy simulacrums into being. They target the player, slam down, inflict Bleed, and vanish. |
| Tier 1 | The simulacrums slam and inflict Bleed. The Empowered Monster has 20% increased Area of Effect. |
| Tier 2 | The simulacrums slam and inflict Bleed. The Empowered Monster has 30% increased Area of Effect. |
| Tier 3 | The simulacrums slam and inflict Bleed. The Empowered Monster has 50% increased Area of Effect. |
How to Defend Against Golemancer
The main danger is being hit by a simulacrum’s slam and then taking Bleed damage. Watch for the simulacrums as they appear and move out of their target area before they land. Higher tiers increase the area covered, so give the slam more room and avoid relying on a small sidestep.
Bleed deals physical damage over time. Armour helps against physical hits, but it does not reduce physical damage over time, so Bleed removal or immunity and reliable life recovery are useful defenses. If Bleed is applied, avoid unnecessary movement while you recover or remove it: in Path of Exile, Bleed deals more damage while the affected character is moving.
How to Attack
Keep damage going while staying ready to reposition. Skills that can deal damage while you move, such as damage-over-time skills or minions, can make it easier to avoid the slams. If your main damage skill requires standing still, use the gaps between slam attacks to deal damage, then move when new simulacrums appear.
The extra Area of Effect makes close-range positioning riskier, especially at Tier 3. Avoid committing to a long attack or channel when a slam is about to land. Focus on the Empowered Monster; the simulacrums vanish after their attacks.
Using Fates
In campaign areas and maps, the Coven Queen’s darkness immobilizes unique bosses until you invoke Fates to release them. You can invoke up to two Fates during the campaign, and map encounters provide a third slot. Each Fate changes the boss fight and adds rewards. Some rewards apply individually, while combo rewards require matching reward markers across two or three Fates.
A Fate’s tier is shown by its feather symbols. Higher-tier Fates can make the encounter more dangerous and increase item rarity. Campaign Fates are Tier 1, while map Fates are Tier 2. Defeating a Fate-empowered boss can also drop Viscera associated with that boss; place Viscera on the Wickerman to gain its stats.
Under the 3.30.0b Hotfix 3 rules, you can invoke three copies of the same Fate. The first and third copies have their rewards tripled, while the second copy is ignored.
List of Rewards
| Reward type | Combo | Description |
|---|---|---|
| Currency | 1 | Empowered Boss will drop additional Currency Items |
| Currency | 2 | Empowered Boss will drop additional Currency Items (Area Level 81+) |
| Currency | 3 | Empowered Boss will drop additional Valuable Currency Items |
| Maps | 1 | Empowered Boss will drop an additional Rare Map |
| Maps | 2 | Empowered Boss will drop many additional Rare Maps |
| Threads | 1 | Empowered Boss will drop additional Threads |
| Threads | 2 | Empowered Boss will drop many additional Threads |
| Threads | 2 | Empowered Boss will drop many additional Threads |
| Stacked Decks | 1 | Empowered Boss will drop additional Stacked Decks |
| Stacked Decks | 2 | Empowered Boss will drop many additional Stacked Decks |
| Gems | 1 | Empowered Monster will drop additional Gems with Quality |
| Gems | 1 | Empowered Monster will drop additional Gems, some of which will be maximum Quality |
| Gems | 2 | Empowered Monster will drop additional Gems, some of which will be maximum Quality |
| Gems | 2 | Empowered Monster will drop additional Gems with maximum Quality (Area Level 81+) |
| Exceptional Gem | 3 | Empowered Monster will drop an additional Exceptional Gem |
| Unique Weapon | 1 | Empowered Boss will drop an additional Unique Weapon |
| Unique Weapon | 1 | Empowered Boss will drop an additional Valuable Unique Weapon (T3+) |
| Unique Armour | 1 | Empowered Boss will drop an additional Unique Armour |
| Unique Armour | 1 | Empowered Boss will drop an additional Valuable Unique Armour (T3+) |
| Unique Jewellery | 1 | Empowered Boss will drop an additional Unique Jewellery |
| Unique Jewellery | 1 | Empowered Boss will drop an additional Valuable Unique Jewellery Item (T3+) |
| Unique Jewel | 2 | Empowered Boss will drop an additional Unique Jewel |
| Unique Flask | 1 | Empowered Boss will drop an additional Unique Flask |
| Corpse Rose | 2 | Empowered Monster will drop Corpse Rose |
| Hide of the Vendigo | 2 | Empowered Monster will drop Hide of the Vendigo |
| Ordered Fate | 2 | Empowered Monster will drop Ordered Fate |
| Doedre’s Tongue | 2 | Empowered Monster will drop Doedre’s Tongue |
| Dreadmaidens’ Sacrament | 2 | Empowered Monster will drop Dreadmaidens’ Sacrament |
| Viscera | 2 | Empowered Monster will drop a Viscera Item (+100%) |
| Gold | 1 | Empowered Boss will drop additional Gold |
| Gold | 2 | Empowered Boss will drop hoards of Gold |
| Rarity | 1 | Empowered Boss has greatly increased item Rarity (+50%) |
| Rarity | 2 | Empowered Boss has massively increased item Rarity (+80%) |
| Rarity | 3 | Empowered Boss has extremely increased item Rarity (+120%, Area Level 80+) |
| Fated Items (Block) | 1 | Empowered Monster will drop additional Rare <Item Class>; items of that class dropped by the Empowered Monster will have no <modifier tag> modifiers |
| Fated Items (Guarantee) | 1 | Empowered Monster will drop additional Rare <Item Class>; items of that class dropped by the Empowered Monster will have a <modifier tag> modifier |
Version note: Patch 3.30.0c added more high-tier map reward outcomes, including additional Divine Orbs, Mirror Shards, Fracturing Orbs, Hinekora’s Locks, and amulets with a Gem modifier.
About the Author