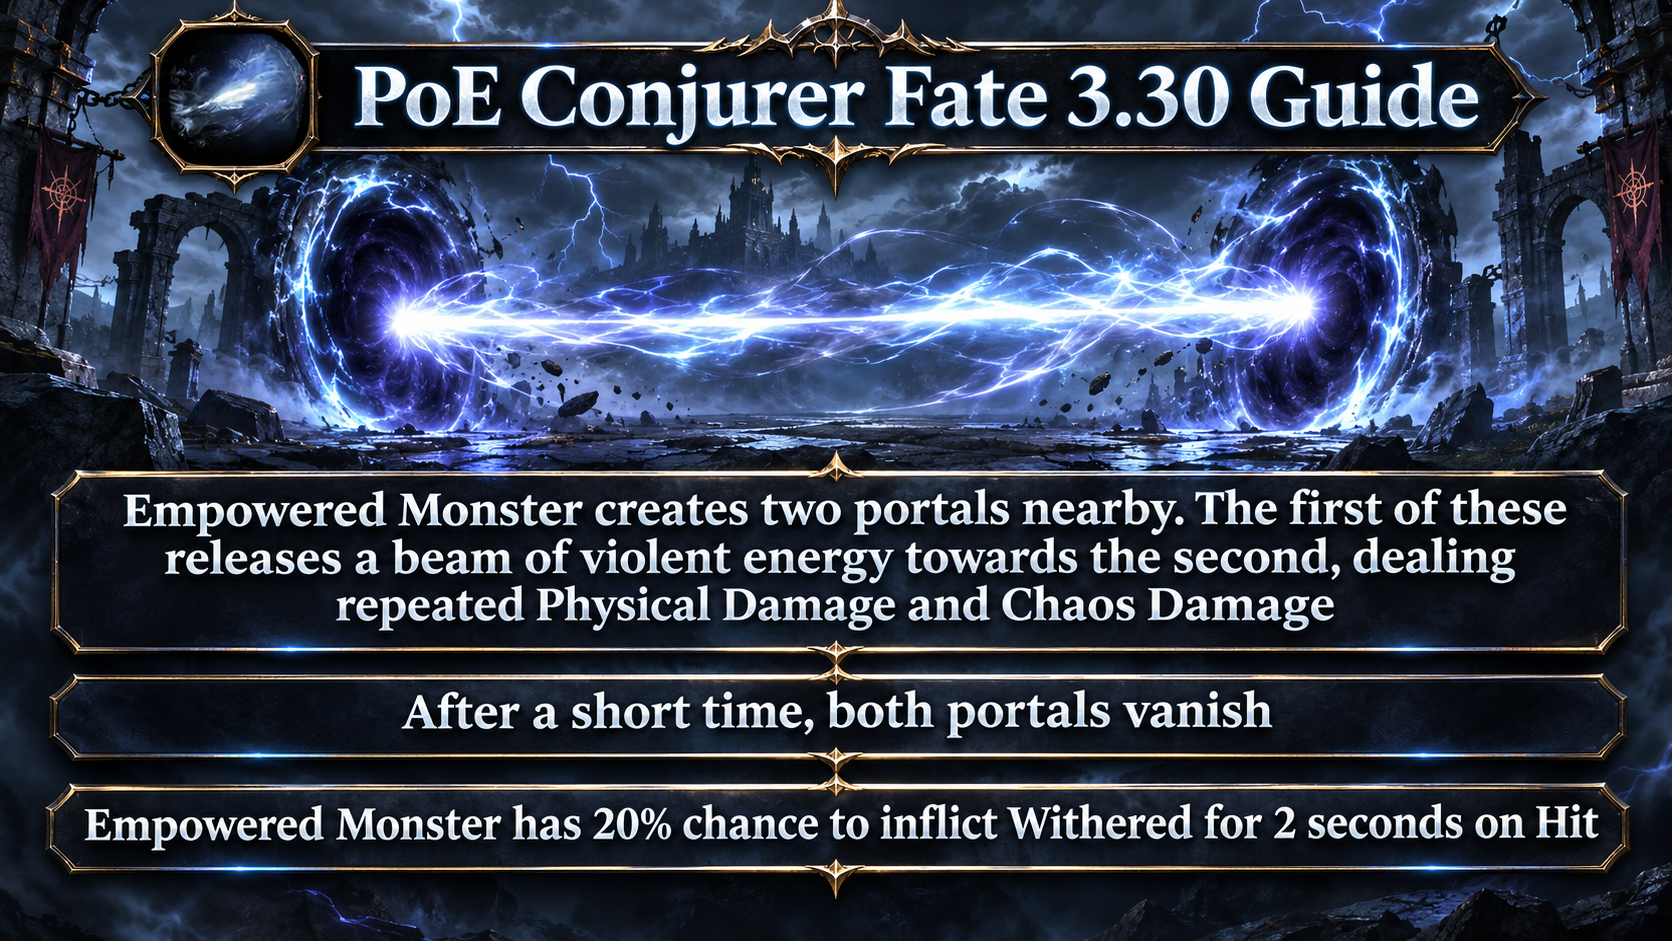
The Conjurer Fate creates two portals near the empowered monster. A beam travels from the first portal to the second, dealing repeated Physical and Chaos Damage. Higher tiers make Withered more reliable: Tier 1 has a 20% chance to inflict it on hit, Tier 2 has a 50% chance, and Tier 3 inflicts it on hit.
| name | description |
|---|---|
| short description | Creates portals that release beams of violent energy. |
| description | The Empowered Monster creates two nearby portals. The first sends a beam toward the second, dealing repeated Physical and Chaos Damage. After a short time, both portals vanish. |
| Tier 1 | The Empowered Monster has a 20% chance to inflict Withered for 2 seconds on hit. |
| Tier 2 | The Empowered Monster has a 50% chance to inflict Withered for 2 seconds on hit. |
| Tier 3 | The Empowered Monster inflicts Withered for 2 seconds on hit. |
How Withered Works
Withered makes the affected target take 6% increased Chaos Damage per stack, up to 15 stacks. At the maximum, that is 90% increased Chaos Damage taken. Each stack has its own 2-second base duration. New stacks do not refresh the duration of existing stacks; each expires separately.
Against the Conjurer, this makes repeated hits more dangerous: the beam already deals Chaos Damage, and Withered can increase the Chaos Damage you take while stacks remain. Withered does not increase Physical Damage, so the beam’s Physical portion still needs its own mitigation.
How to Defend Against the Conjurer
- Move out of the beam’s path. Watch for the portals and avoid standing in the line between them. Moving sideways across the beam’s path can help you leave it quickly.
- Keep moving while the beam is active. It deals repeated damage, so remaining in its path can mean multiple hits and, at higher tiers, a greater chance of receiving Withered.
- Prepare for both damage types. Chaos Resistance helps with the Chaos portion; armour, other Physical Damage mitigation, and life recovery help with the Physical portion.
- Avoid taking follow-up hits. Withered stacks expire independently after their duration. Avoiding further hits gives the stacks time to fall off.
- Make room to move. If the arena is crowded with other effects, reposition before the portals appear so you have a clear route away from the beam.
How to Attack the Empowered Monster
Prioritize avoiding the beam over standing still to deal damage. Once the portals vanish or the beam is no longer threatening your position, attack during the opening before the next dangerous pattern. Builds that can deal damage while moving have an advantage because they can keep pressure on the monster without staying in the beam’s path.
If you are hit, do not assume one Withered stack has refreshed all the others: each stack has its own timer. Still, treat repeated hits as increasingly dangerous because more active stacks mean more Chaos Damage taken. At Tier 3, every hit can apply Withered, so avoiding contact is especially valuable.
Using Fates
In campaign areas and maps, the Coven Queen’s darkness holds unique bosses in place until you invoke Fates to release them. During the campaign, you can invoke up to two Fates; in maps, a third slot becomes available. Each Fate changes the encounter and can add rewards. Some rewards apply individually, while others require two or three Fates with matching reward markers. Additional matching Fates may contribute to another reward.
Fates have tiers marked by one, two, or three feather symbols. Higher tiers bring stronger effects and a greater item rarity bonus. Campaign Fates are Tier 1, while map Fates are Tier 2; invoking duplicate Fates can upgrade a Fate’s tier and multiply its rewards.
Under the 3.30.0b Hotfix 3 rules, you may invoke three copies of the same Fate. The first and third copies have their rewards tripled, while the second copy is ignored. A Fate-empowered boss may drop Viscera associated with that boss; place Viscera on the Wickerman to gain its stats.
List of Rewards
| Reward type | Combo | Description |
|---|---|---|
| Currency | 1 | Empowered Boss will drop additional Currency Items |
| Currency | 2 | Empowered Boss will drop additional Currency Items (Area Level 81+) |
| Currency | 3 | Empowered Boss will drop additional Valuable Currency Items |
| Maps | 1 | Empowered Boss will drop an additional Rare Map |
| Maps | 2 | Empowered Boss will drop many additional Rare Maps |
| Threads | 1 | Empowered Boss will drop additional Threads |
| Threads | 2 | Empowered Boss will drop many additional Threads |
| Stacked Decks | 1 | Empowered Boss will drop additional Stacked Decks |
| Stacked Decks | 2 | Empowered Boss will drop many additional Stacked Decks |
| Gems | 1 | Empowered Monster will drop additional Gems with Quality |
| Gems | 1 | Empowered Monster will drop additional Gems, some of which will be maximum Quality |
| Gems | 2 | Empowered Monster will drop additional Gems, some of which will be maximum Quality |
| Gems | 2 | Empowered Monster will drop additional Gems with maximum Quality (Area Level 81+) |
| Exceptional Gem | 3 | Empowered Monster will drop an additional Exceptional Gem |
| Unique Weapon | 1 | Empowered Boss will drop an additional Unique Weapon |
| Unique Weapon | 1 | Empowered Boss will drop an additional Valuable Unique Weapon (T3+) |
| Unique Armour | 1 | Empowered Boss will drop an additional Unique Armour |
| Unique Armour | 1 | Empowered Boss will drop an additional Valuable Unique Armour (T3+) |
| Unique Jewellery | 1 | Empowered Boss will drop an additional Unique Jewellery |
| Unique Jewellery | 1 | Empowered Boss will drop an additional Valuable Unique Jewellery Item (T3+) |
| Unique Jewel | 2 | Empowered Boss will drop an additional Unique Jewel |
| Unique Flask | 1 | Empowered Boss will drop an additional Unique Flask |
| Corpse Rose | 2 | Empowered Monster will drop Corpse Rose |
| Hide of the Vendigo | 2 | Empowered Monster will drop Hide of the Vendigo |
| Ordered Fate | 2 | Empowered Monster will drop Ordered Fate |
| Doedre’s Tongue | 2 | Empowered Monster will drop Doedre’s Tongue |
| Dreadmaidens’ Sacrament | 2 | Empowered Monster will drop Dreadmaidens’ Sacrament |
| Viscera | 2 | Empowered Monster will drop a Viscera Item (+100%) |
| Gold | 1 | Empowered Boss will drop additional Gold |
| Gold | 2 | Empowered Boss will drop hoards of Gold |
| Rarity | 1 | Empowered Boss has greatly increased item Rarity (+50%) |
| Rarity | 2 | Empowered Boss has massively increased item Rarity (+80%) |
| Rarity | 3 | Empowered Boss has extremely increased item Rarity (+120%, Area Level 80+) |
| Fated Items (Block) | 1 | Empowered Monster will drop additional Rare <Item Class>; items of that class dropped by the Empowered Monster will have no <modifier tag> modifiers |
| Fated Items (Guarantee) | 1 | Empowered Monster will drop additional Rare <Item Class>; items of that class dropped by the Empowered Monster will have a <modifier tag> modifier |
About the Author