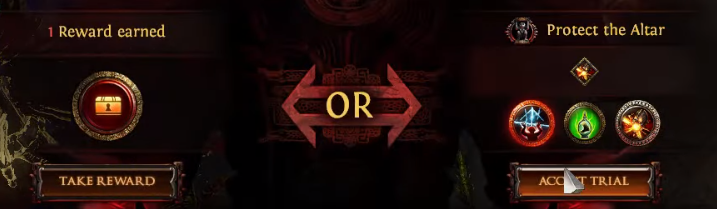
Protect the Altar
- Complete all waves of the Protect the Altar types of Ultimatum encounters.
- Complete Inscribed Ultimatums with each of the Protect the Altar Challenges in areas with an area level of 81 or higher.
The Altars life bar is displayed near the bottom, upon reaching 0 the encounter will fail.
This Altar is in the middle here, and you have to protect it as you can. Dodge build is very good to complete this challenge.

Protecting the Altar in the middle is honestly one of the easiest ones I think. When you get to protect the Altar in the middle, the enemies seem to just ignore you and attack that Altar. Therefore, you have plenty of time to just kill them.
Buy PoE Currency Cheap
- Divine Orbs for Sale (6% off coupon: vhpg). Best site to buy PoE currency.
- Buy PoE Currency Instant Delivery (6% off coupon: poeitems). Path of Exile item and currency. Payment: PayPal, Skrill, Cryptocurrencies.
Challenge Faild
One of the following situations means Protect the Altar failed:
- The Altar was destroyed.
- You die.
- Stay outside of the circle over 4 seconds
- Receive 7 stacks of Ruin
The Ultimatum is failed and all rewards will be removed.
Completion rate by encounter type
Let's move on and take a look at completion rate by encounter type.| Encounter Type | Completion Rate (Level 2-72) |
Completion Rate (Level 73-77) |
Completion Rate (Level 78+) |
|---|---|---|---|
| Defeat Monsters | 82.68% | 82.18% | 84.88% |
| Survive | 80.62% | 81.05% | 82.79% |
| Stone Circles | 76.34% | 77.40% | 75.86% |
| Defend the Altar | 82.18% | 84.19% | 86.83% |
So, the first thing you'll likely have noticed is the completion rate of Stone Circle encounters. It has the lowest completion rate of any of the encounter types and it's not even close. This encounter type either forces players to stand still for brief periods of time or can last a long time if players are running quick paths through the Stone Circles, giving more time for something to go wrong and lead to an untimely death.
The easiest encounter type is the Defend the Altar encounter. This is fairly expected as not all of the monsters are trying to kill you; they're instead trying to destroy an altar, giving you a bit of extra breathing room during the encounter.
As with wave completion rates, for the most part we see increasing completion rates for each encounter type as the area level gets higher.
Do not choose multiple options
Choosing multiple options is the worst option.
You on average should really be choosing the same option and stacking up the same option over and over again. These stacked-up modifiers are significantly less dangerous than dealing with three separate modifiers at the same time.
As you're getting up towards these like nine or ten waves, you could just have three, and that makes it significantly easier.
How to choose Mods
Ground effects like the Choking Miasma tend to be significantly easier than all of the other ones. This is almost one of the easiest ones in the whole mechanic. See these mods and you should choose every single time.
Movement speed and recovery
Movement speed is very important and recovery is very important as well. In order to Protect the Altar, you must slain attackers as fast as possible.
Path of Exile Guides & Tips
- Daresso’s Salute Vaal Corrupted Mods, Price – PoE Citrine Amulet
- Rare Item Prophecy – Gilded Within PoE
- Divergent Elemental Proliferation Support PoE
- Vaal Discipline PoE Aura Gem Build, Support Gems, Farming
- 3 Unique Recipe 3.14 – Ultimatum New Vendor Recipes
- Minion Instability PoE Build Explained Worth It
- The Hoarder Divination Card PoE – Farming Exalted Orb
- Greedtrap Prophecy – Greed’s Folly PoE
- PoE Watchstones Recipes Vendor Craftable
- Anomalous Decoy Totem PoE
- Infused Incubator PoE – valuable Essence Item
- Winterweave Prophecy – Cold Blooded Fury PoE
- Shavronne’s Wrappings Build PoE, Chance, Farming, Recipe
- PoE Aberrant Fossil Mods – More Chaos modifiers
- NBA 2K23 Limited Mode MyTEAM Players Lineup Ring Event Requirements